SOFTWARE
DEVELOPMENT
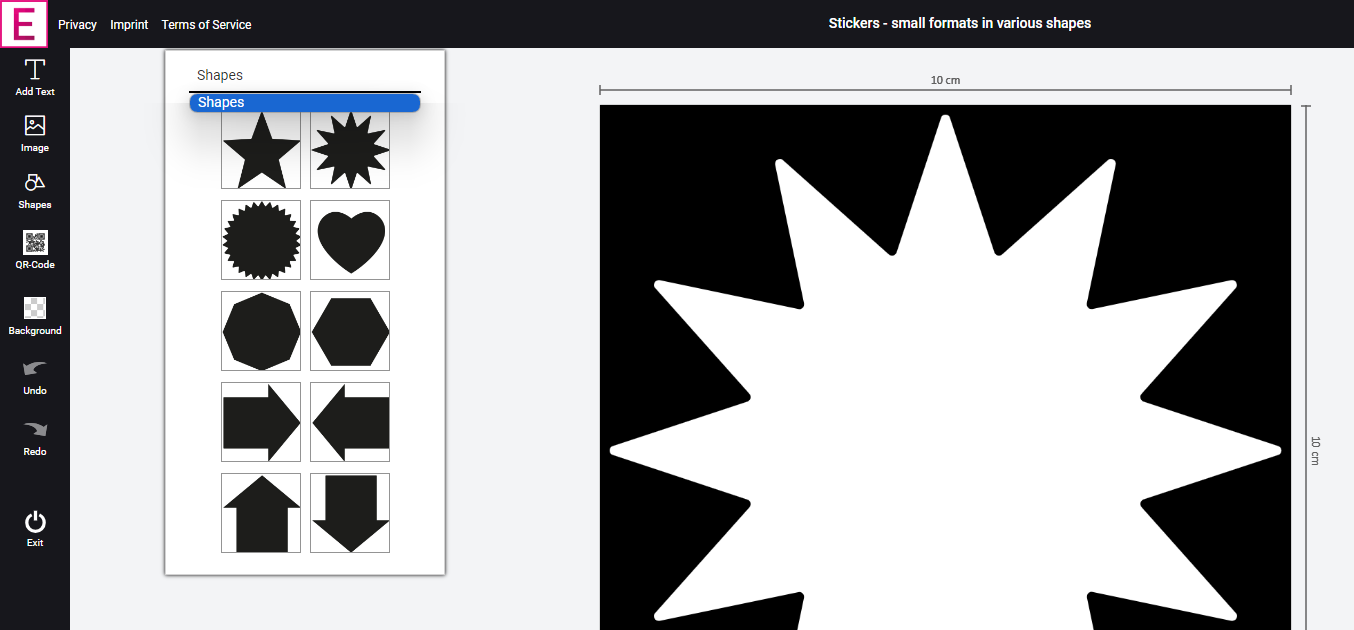
Here you will find a list of the shapes available in the Sticker Editor.
Log into the backend of your shop and go to the menu under: smart|EDITOR > Image databases and fonts
In the Shapes tab, you will find the settings and can manage your own shapes and categories:
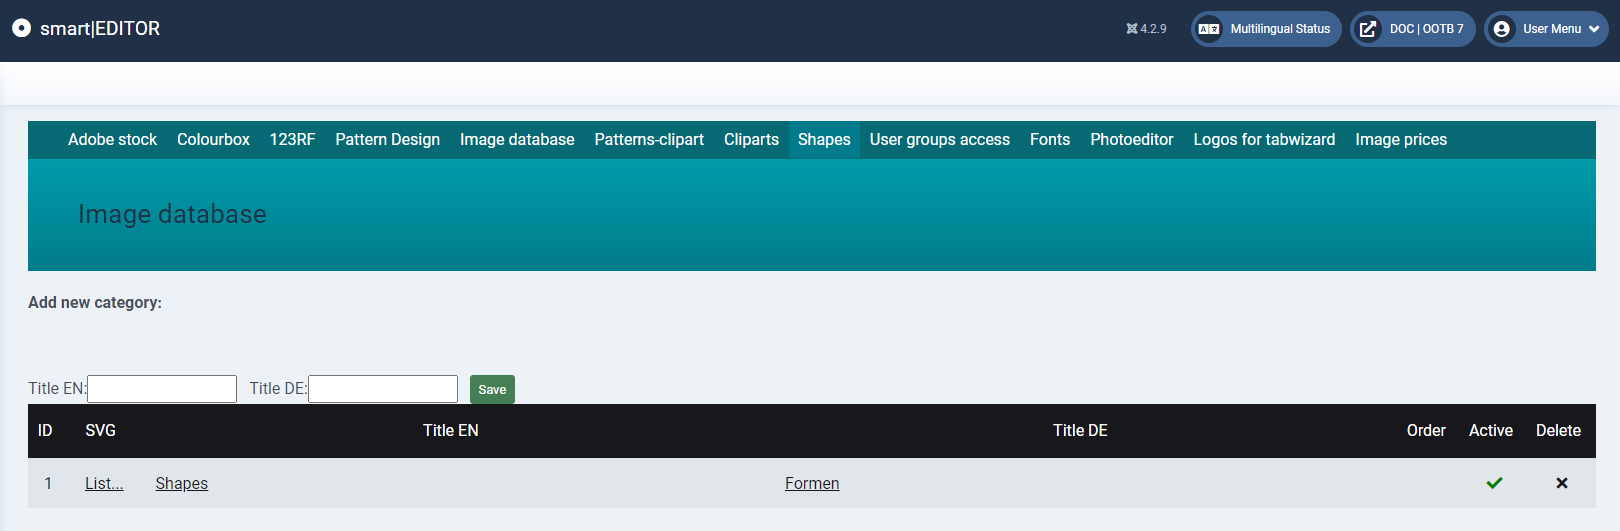
You have the option of dividing your clipart database into several categories, which will be available in selections and the pop-up provided in the Sticker Editor.
ATTENTION:
This popup is activated by integrating the editor function field: Sticker-chooseForm.
This field only works in the Sticker editor type.
If you have any difficulties or questions, please contact our project management or support team.
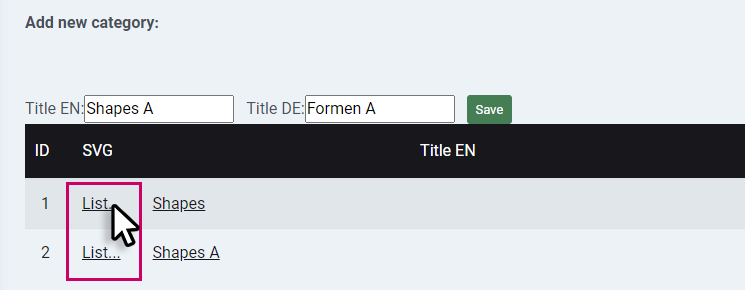
You can create a new clipart category under Add new category. To do this, enter the title and then click on Save:

The new created category then appears in the list.
By ticking/unchecking the Active column, the respective category is shown/hidden in the frontend:

The order of the categories can be changed by clicking on the arrows:

Mit einem klick in der zweiten Spalte, gelangen Sie in den Verwaltungsbereich der einzelnen Clipartkategorien:
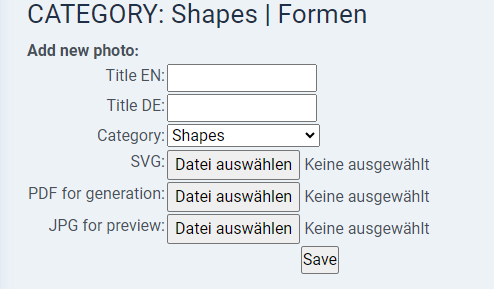
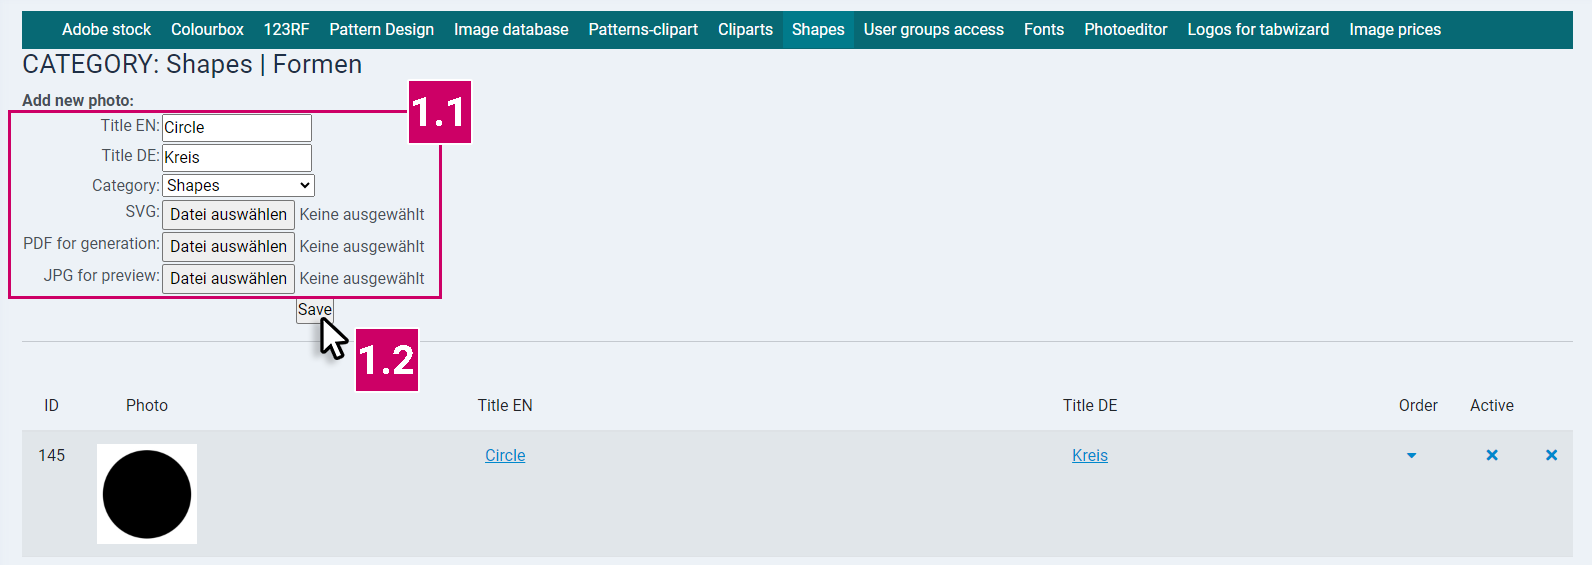
Im Abschnitt Add new photo können Cliparts einzeln einer Kategorie hinzugefügt werden:
In the fields that appear, you can give the clipart a title in the respective language:
- Title in the respective language
Use the "Category" selection field to assign the shape to the desired category.
SVG: select the svg file to be uploaded.
Under PDF for generation: select the pdf printfile file with cut line to be uploaded.
JPG for preview: select the jpg file of the preview picture in front and backend.
Save the entry with Save:
After a successful upload, the shape appears as an entry in the list.
Edit Shapes
Existing shapes can be edited as follows:
1. First click on the title:

1.1 Now you can change the title entry and the category assignment in the fields.
You also have the option of uploading new svg, pdf and jpg files assigned to the respective entry.
assigned to the respective entry.
1.2 Click on Save to update the entry and replace the old data with the new data:
")
")