SOFTWARE
DEVELOPMENT
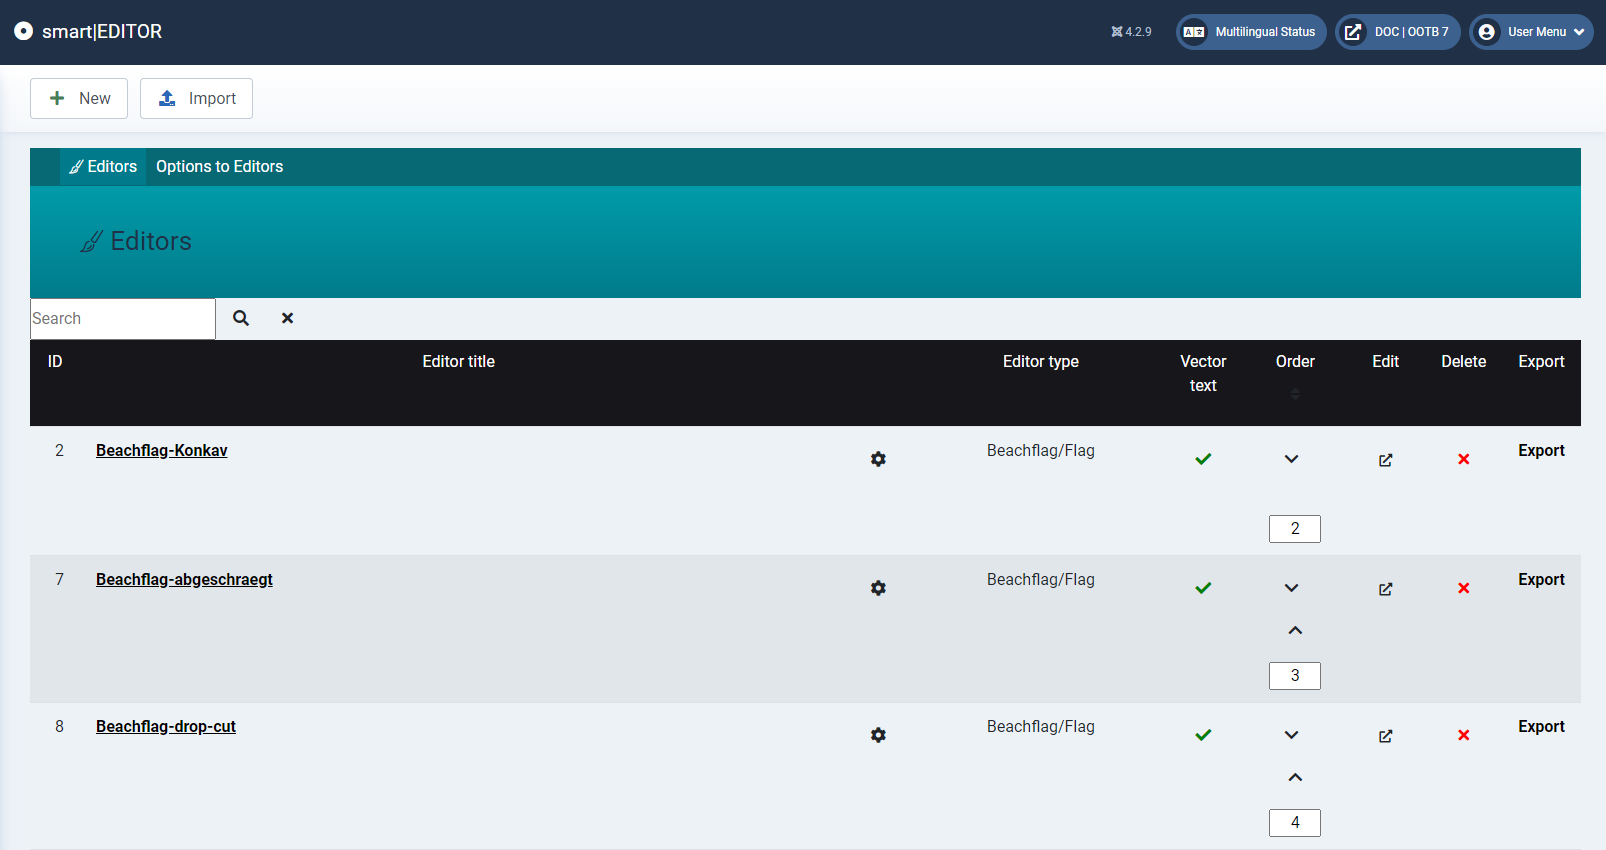
In this area, you can make your settings for the individual editors, create new editors and import and export them.
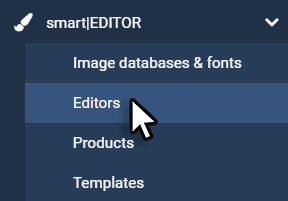
The settings for this can be found under Components > smart|EDITOR > Editors:
You can switch the Vector text options on and off, change the order or Edit and Delete the editors.
Vector text: If the vector font is activated, real vector text is set in the print PDF. However, this may result in slight shifts compared to the design of the position.
If this is deactivated, text is placed in the form of a high-resolution image. Advantage: These shifts do not occur.
Vector fonts should be deactivated for small formats such as business cards.
You can create a new editor using the +New button.
When you press the button, a new window appears where you can enter a name and select the respective editor type. Then click "Add new editor":
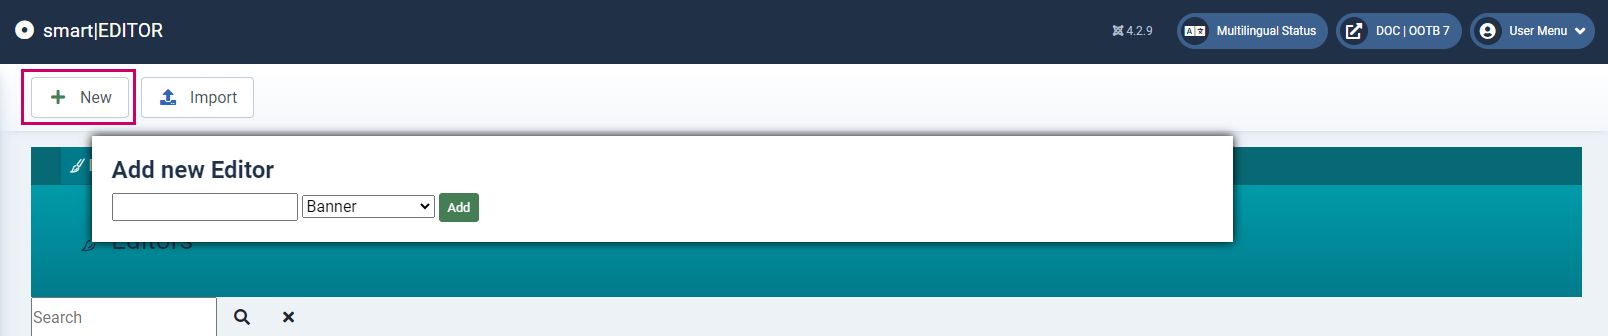
The new editor has been created and now appears in the list of editors.
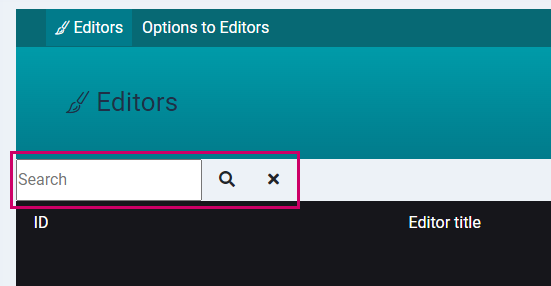
Editors can be searched for using the search function. You can search by title or ID:
Open your editor by clicking on the title in the list or the button in the "Edit" column.
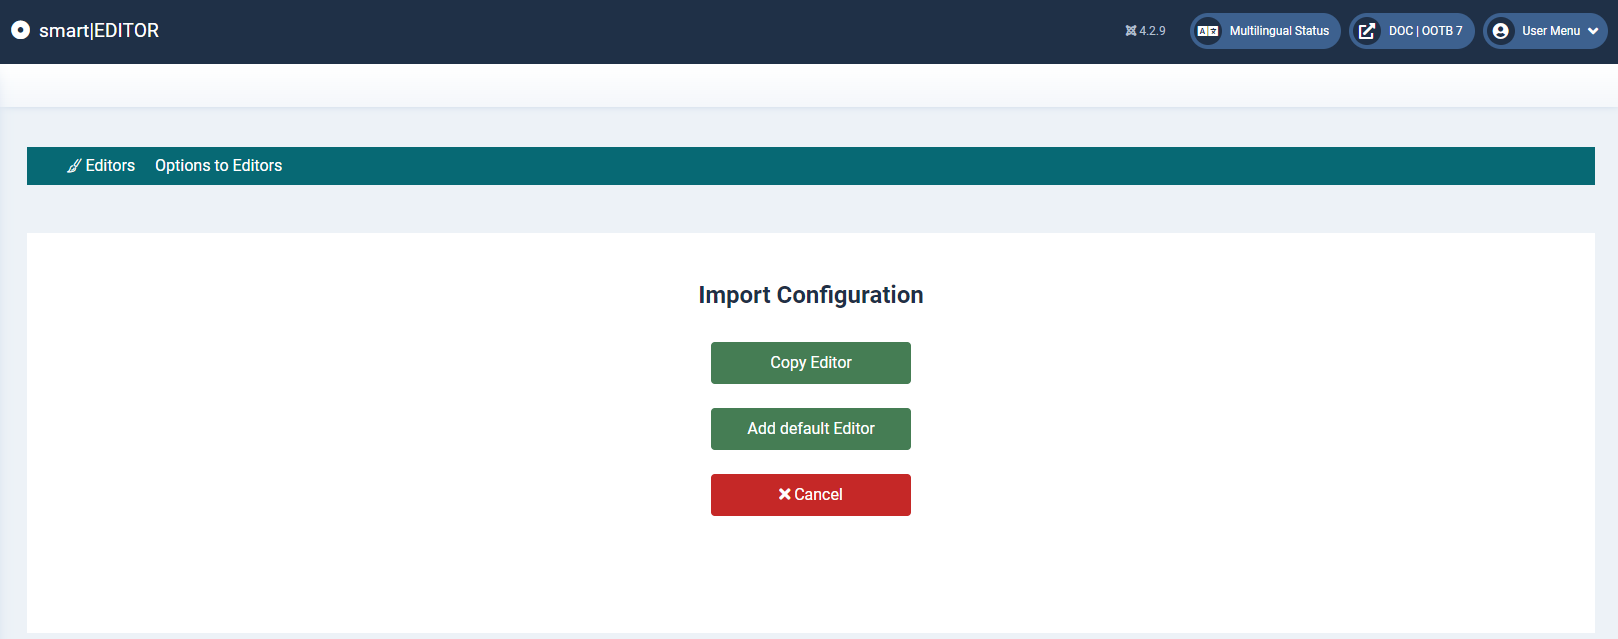
Here you can choose whether you want to copy an editor or add a standard editor.
IMPORTANT: Please only click once and wait, otherwise the editor will be loaded twice and is therefore unusable.
Once the editor has loaded, you will see its interface with the associated tabs:
Editor - Import and Export
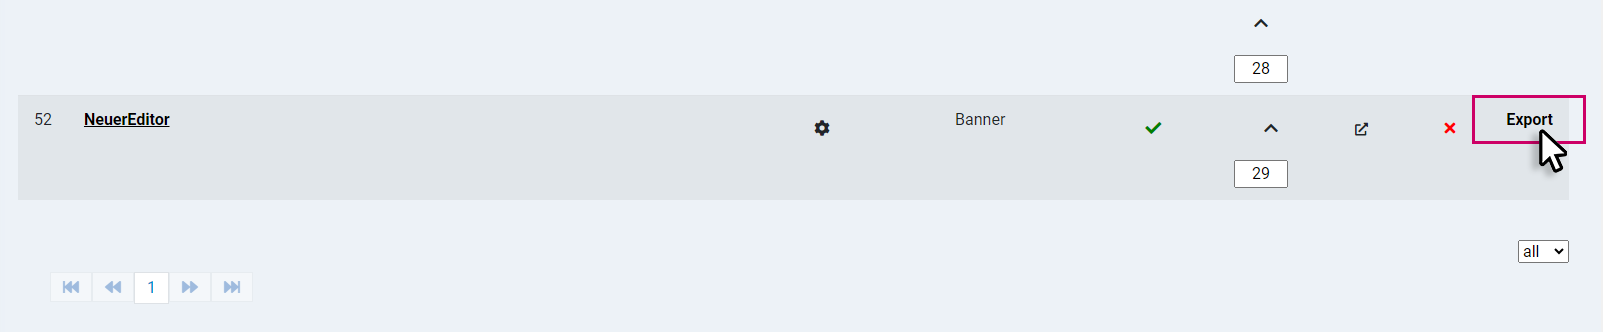
You can not only create new editors, but also export and import.
You can export an existing editor using the "Export" button:
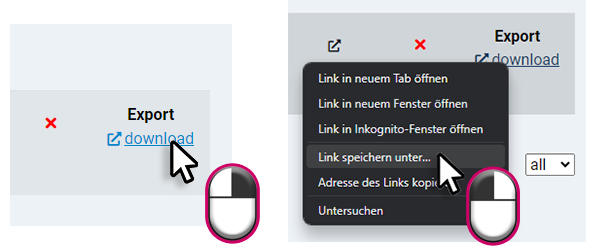
You can now download it in xml format by right-clicking > Save link as... via the "download" button that appears below.
Über den Import Button oben im Menü, können Sie Editoren wieder importieren:
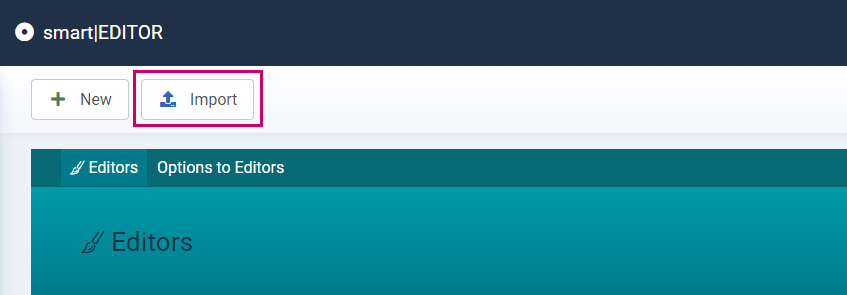
Tip: How is this different from copying editors? - For example, if you are testing an editor in your development shop (test shop/test environment) and would like to use this editor in your live shop, you can simply import it to your live shop.
Click on the cogwheel to call up further editor options, which are divided into tabs:
Editor title:
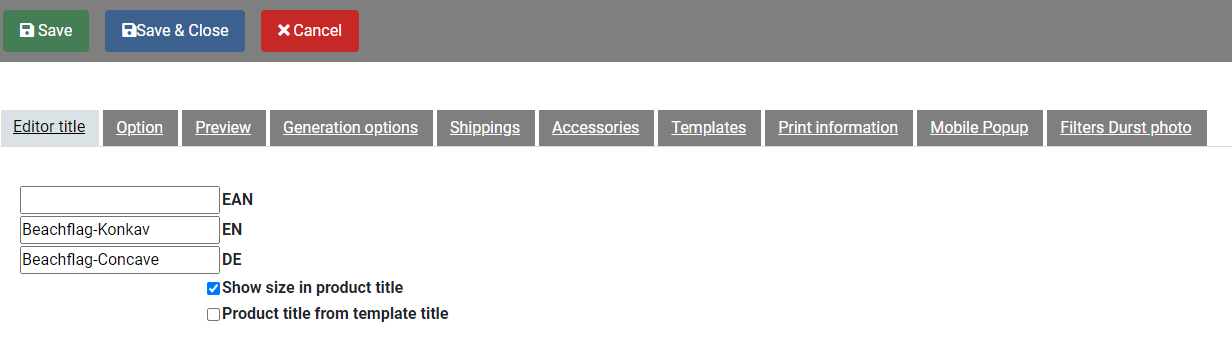
EAN: Here you can enter a product EAN
EN/DE: Here you can customise the editor name for each language
Show size in product title: If you select this option, the product size will be displayed in the title
Product title from template title: If you select this option, the product title is pulled from the template title
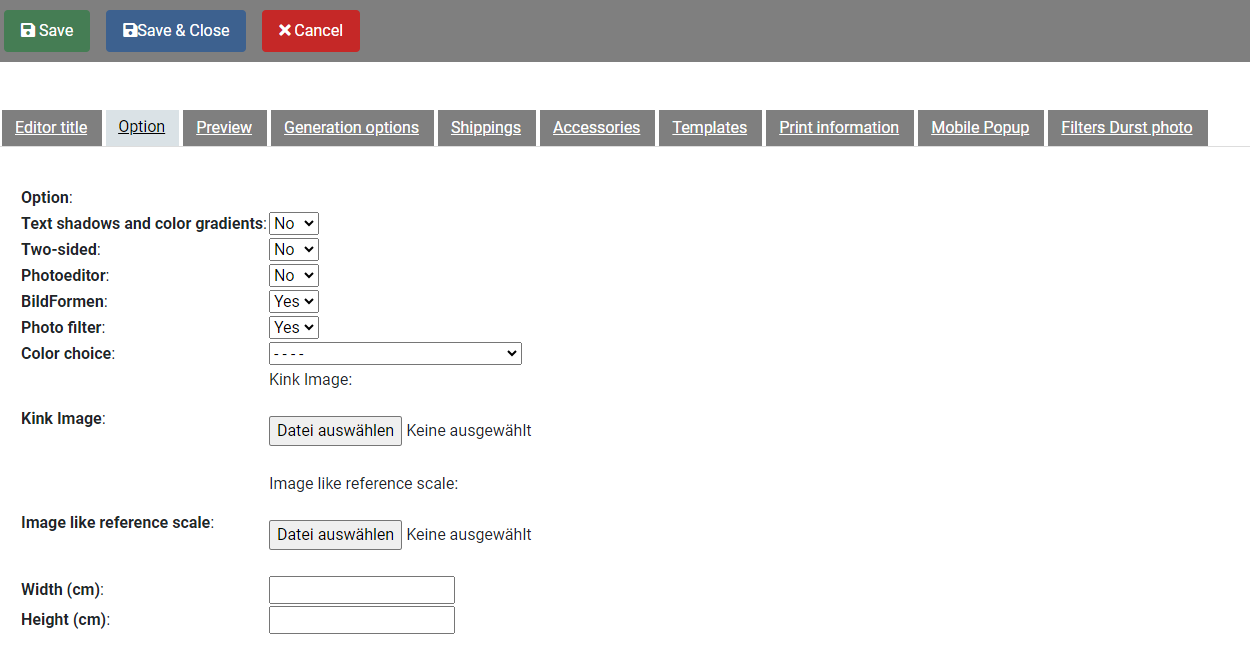
Option
Here you can switch functions in the editor on and off. Depending on the editor type, these options may vary. For the editor type - Banner, an image for the eyelets can be uploaded here.
Preview
In this area, you can set the type of preview and make the relevant settings:
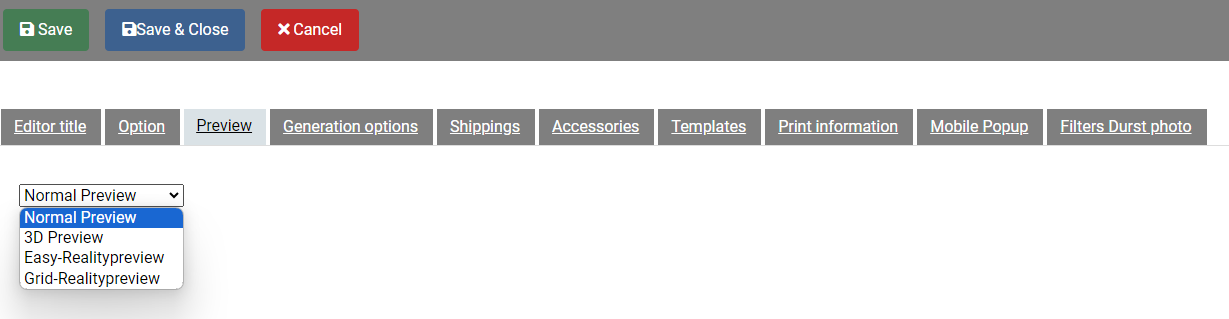
Normal preview:
If the "Normal preview" is activated, the entire design area is displayed in the form of a rectangle.
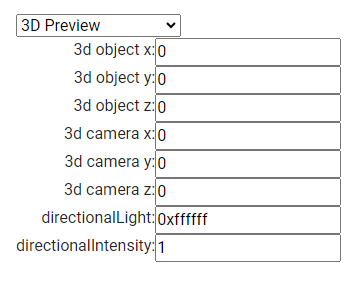
3D preview:
Here you can change the 3D axes and change the light colour and intensity
Easy-Realitypreview:
This preview enables the editor design to be projected directly onto a product image. An image with a transparent layer can be uploaded for this purpose.
The motif is distorted by the positions of the perspective points to create a realistic view.
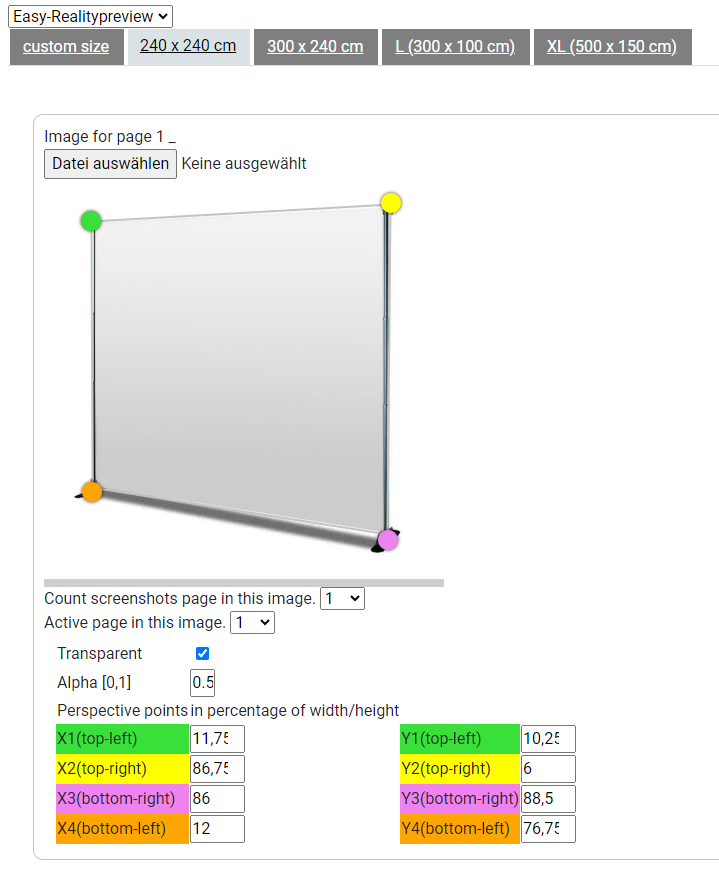
Count screenshots page in this image: Number of customisable pages (only works with certain editors such as the map editor, where there are front and back pages)
Active page in this image: Which of the customisable pages is displayed in the preview
Transparent: This option activates the transparency for the reality preview
Alpha: This value determines the degree of transparency of the motif. This value must be between 0 and 1 (100%)
You can use the perspective points in the image to change the area in order to distort the image created in the editor. Alternatively, you can also do this with specific % values in the input fields.
Grid-Realitypreview:
Diese Vorschau sollten Sie nutzen, wenn Sie eine Preview für ein nicht rechteckiges Produktmockup darstellen möchten, da hier die Möglichkeit besteht die Motivabbildung mit Hilfe von Bezier-Linien, oder mit Hilfe eines Gitters und zu verkümmen.
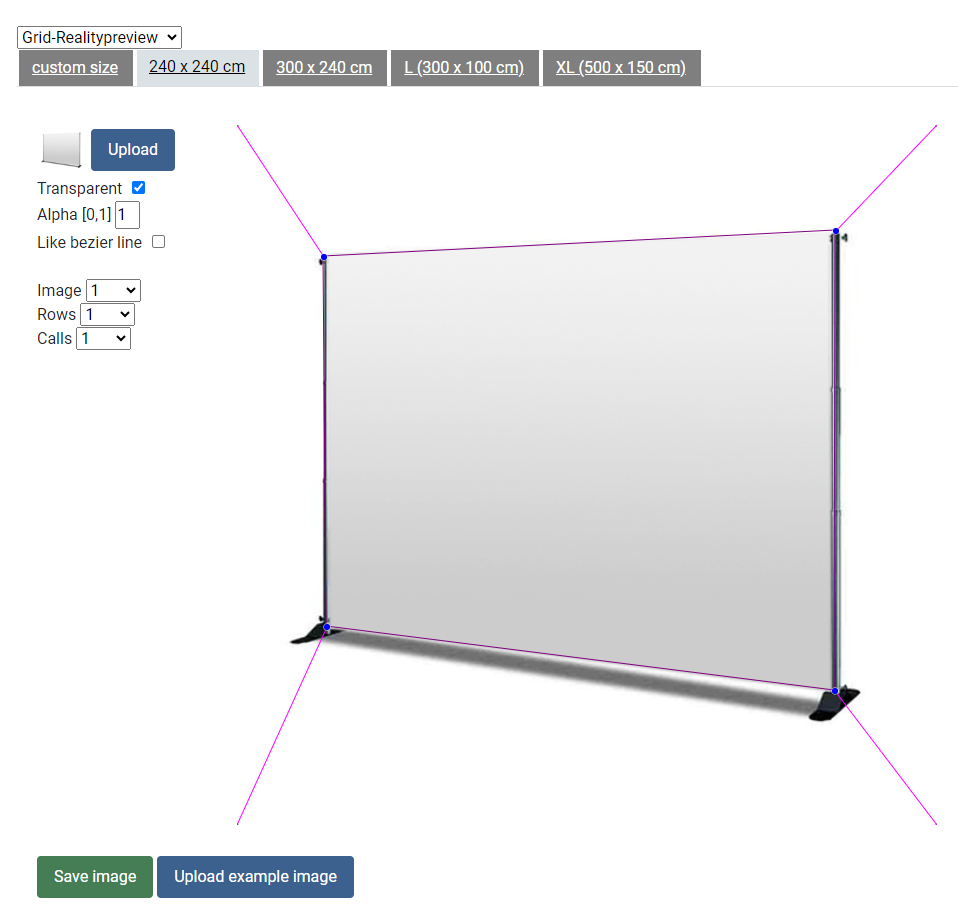
By ticking the "Link bezier line" checkbox:
you activate the Bezier (at the same time you deactivate the grid function).
By unchecking the "Link bezier line" box:
you deactivate the Bezier and at the same time activate the grid function and the associated selection fields "Rows" and "Calls".
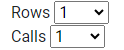
Rows determines the number of segments (1-100) into which the grid is divided vertically (along the Y axis).
Calls determines the number of segments (1-100) into which the grid is divided horizontally (along the X axis).
1. use the "Upload example image" button to upload an image.
2. for better visualisation, we recommend that you upload a print image as an example image. This will then be displayed semi-transparently so that you can better judge the effects of the distortions.
Beziers are the best way to realise image distortions with curves/curvatures.
3. after uploading the sample image, first use the 4 blue grab points to drag the image so that it is placed on the desired corner points of the mockup image.
4. if it is an object with curves, adjust the curves with the red Bezier line points according to your wishes:
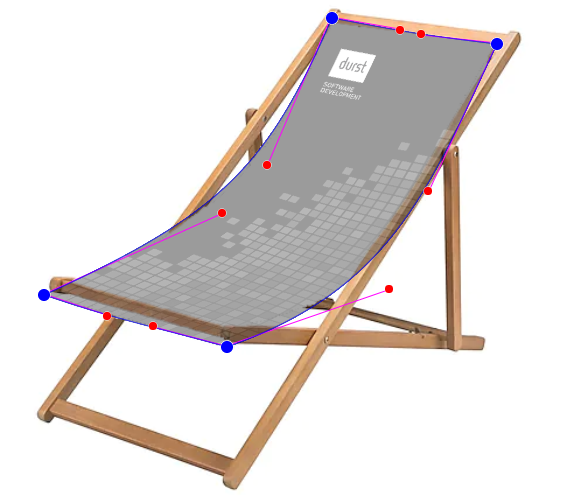
5. If it is a mockup without curves and separate surfaces, it makes more sense to use the grid:
6. A combination of grid distortion and Bezier lines is not possible.
Generation options
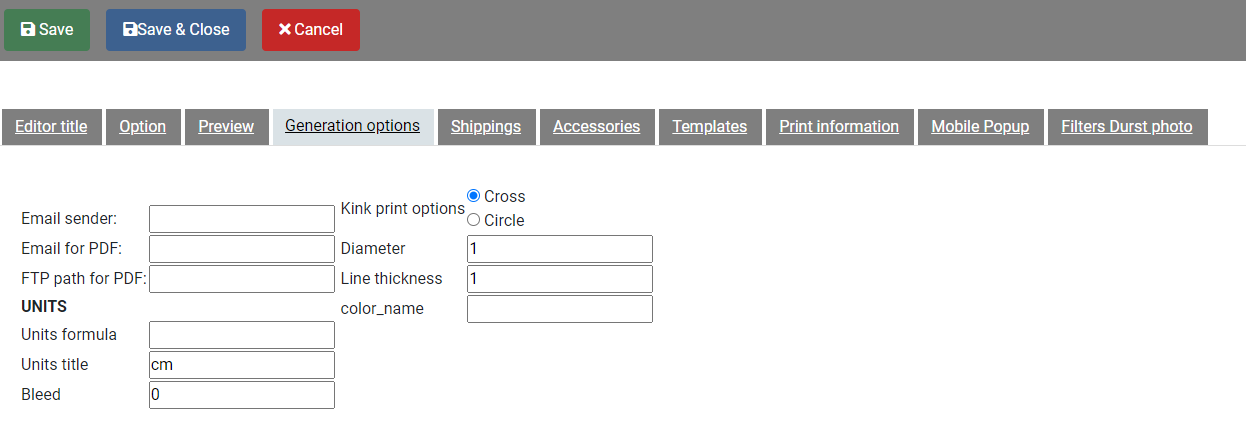
Email sender: Enter the name of the email sender
Email for PDF: If a file is generated via the editor, a mail is sent to this mail with the file
FTP path for PDF: A folder path /order/save can be stored here, where the print data from this editor is stored
Units formula: If you need to convert your units, for example cm to inches
Units title: Specify the unit used here (cm,mm,...)
Bleed: If the print PDF should have a bleed (print file grows), you must specify this here in cm,mm,inch
Kink print options: Should a cross or a circle be displayed on the PDF for the placement of the eyelets.
Diameter (in cm): Specify the diameter of the eyelets/kinks
Line thickness (in pt): Specify here which line thickness the eyelets should appear on the print PDF
Colour name (in PDF): Specify the name of the colour for the eyelets here
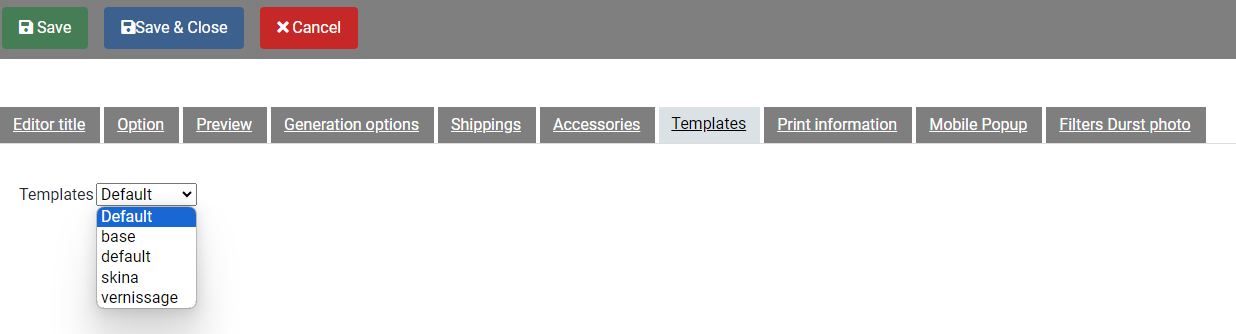
Editorlayout
Here you can change the visual design of the editor:
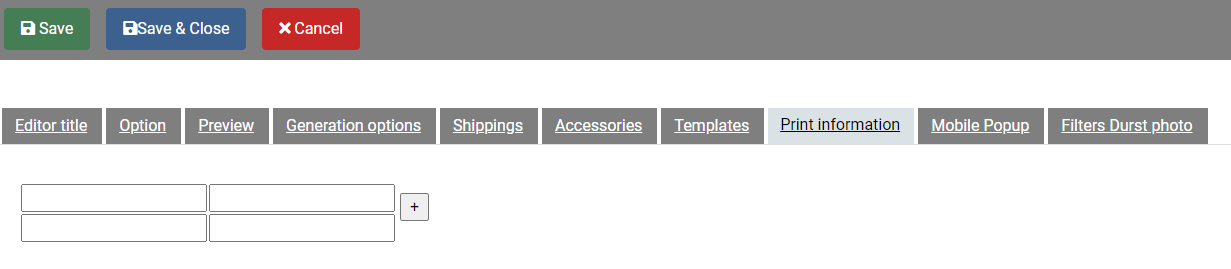
Print informaiton
Add further information to the editor, which appears in the product as an attribute in the shopping basket. Example "Print info - product is printed digitally"
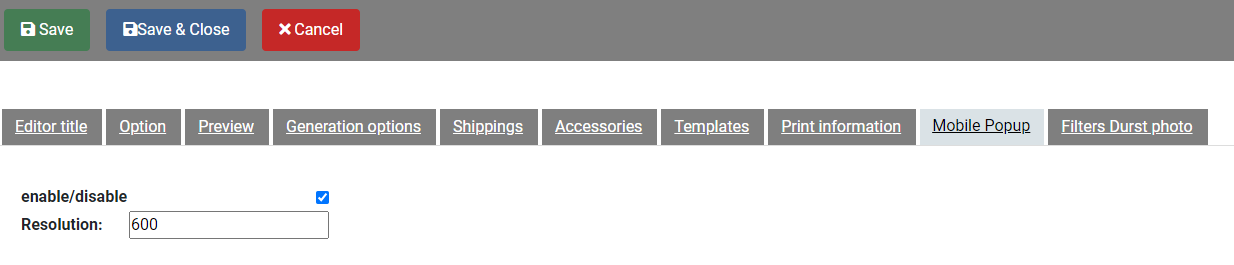
Mobile Popup
A pop-up can be activated here, which appears as soon as the browser window in which the editor is started falls below a certain pixel width.
You can activate the pop-up by ticking the "activate/deactivate" box.
In the "Resolution" field below, you can enter a pixel width from which the pop-up will appear.
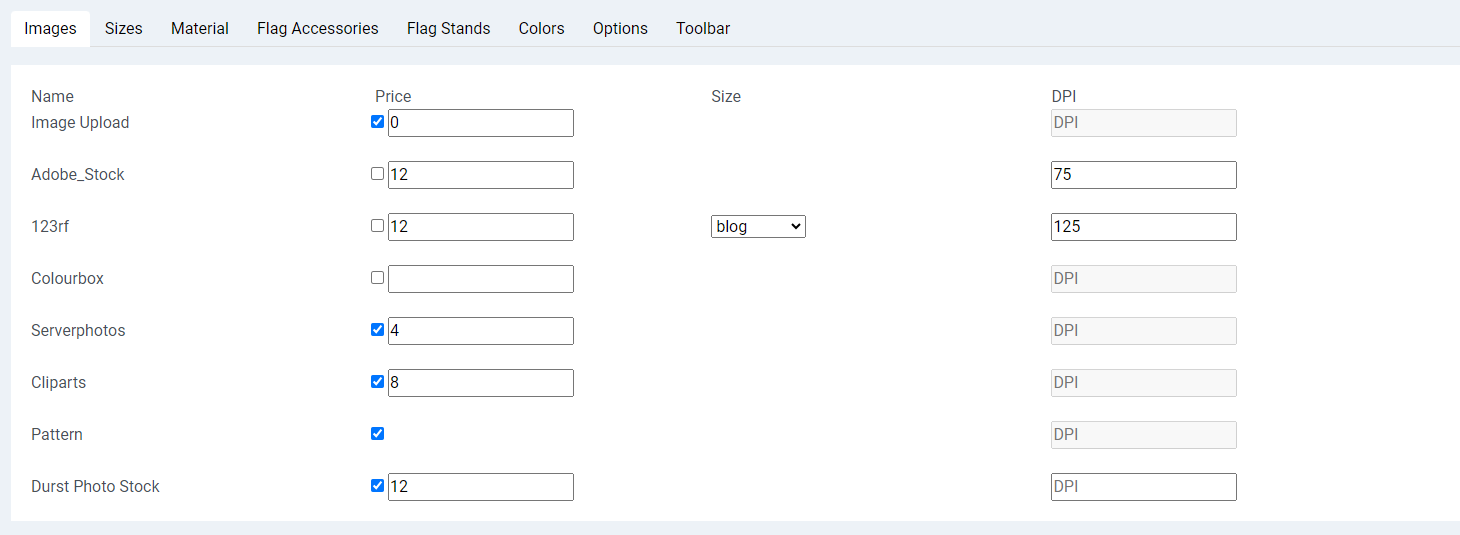
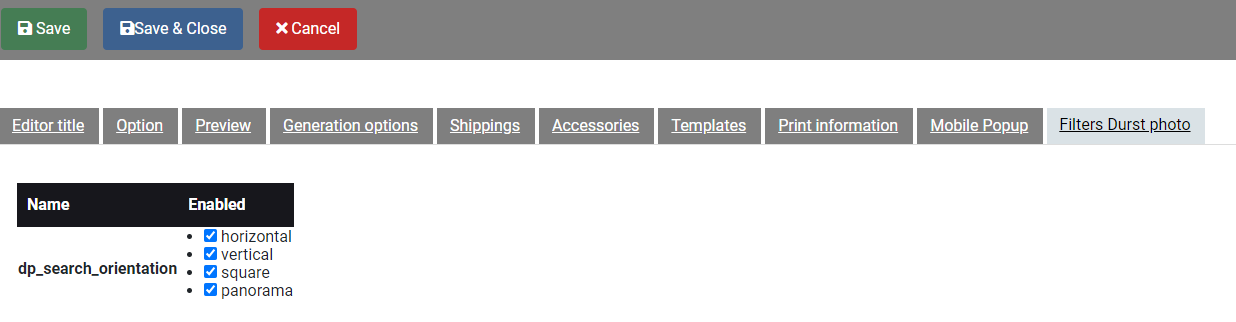
Filters Durst photo
If the Durst Photo option is active in your editor configuration, you can filter the image formats that should be available and searchable for the respective editor here:
")
")