SOFTWARE
DEVELOPMENT
Setting up authorize.net payment system in your SmartSHOP
Perform the following steps after you have registered your authorize.net account and successfully completed the onboarding process
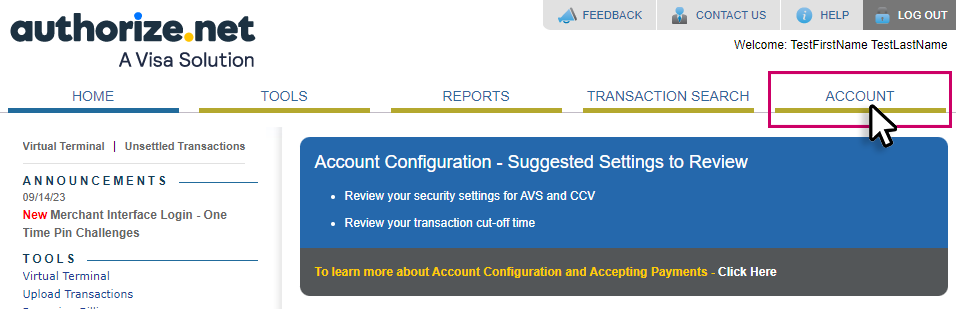
1. Visit authorize.net, log in with your account data and click "ACCOUNT" in the Main Menue:
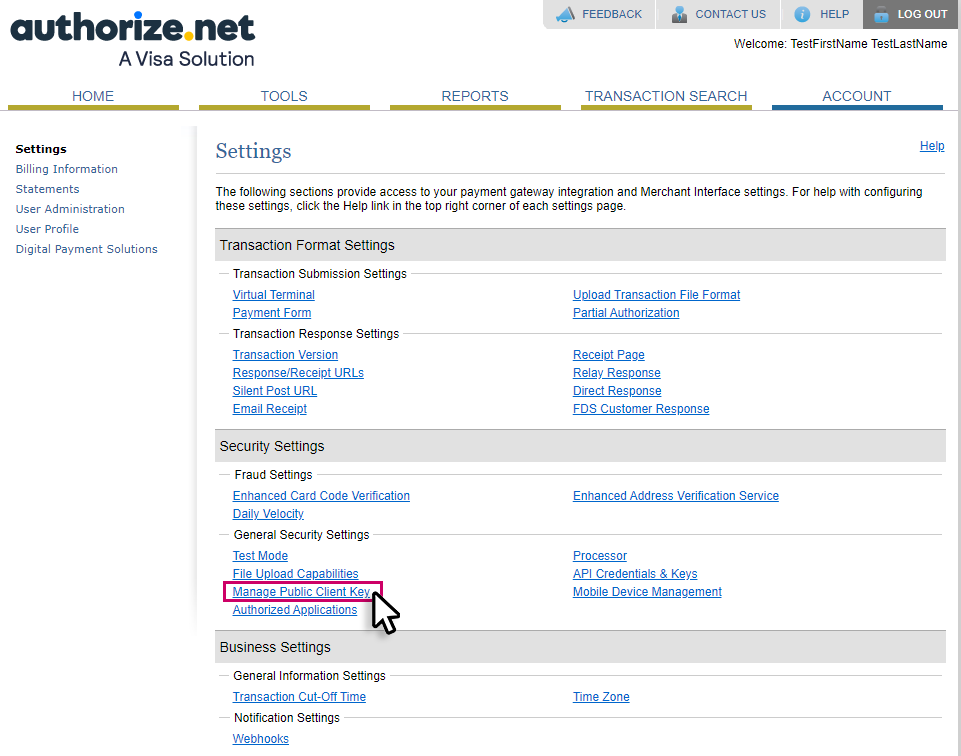
1.2 Click "Manage Public Key" in the following window:
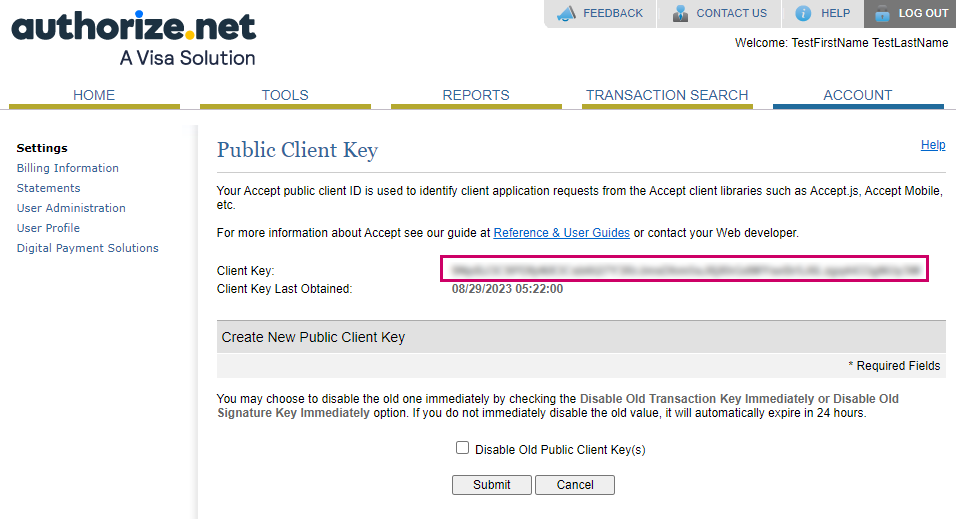
1.3 Select and copy the Client Key to your clipboard, you will need it in the next steps:
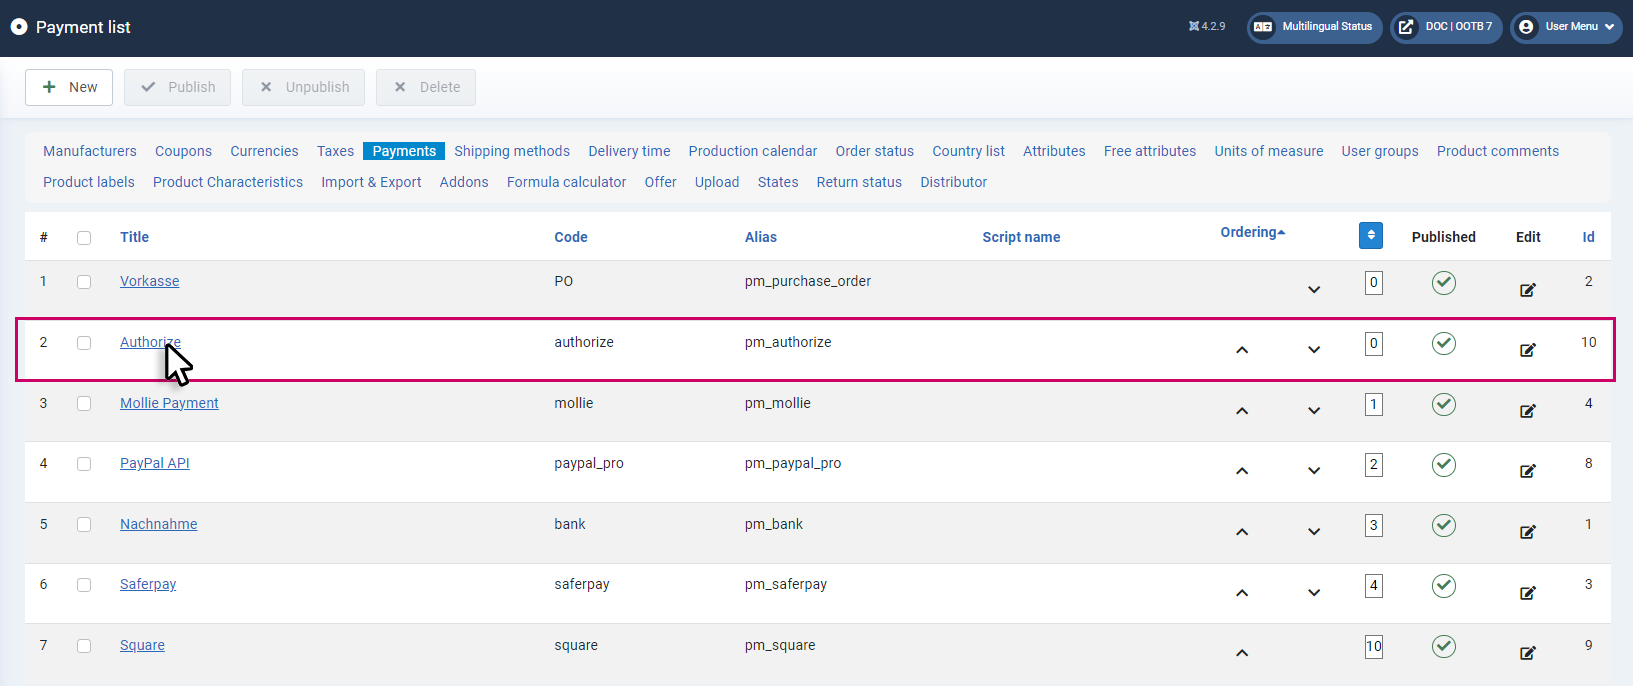
2. Enter the backend of your shop, open the payment list and choose Authorize: Options > Payments > Authorize
(If the plugin is not yet installed in your shop, please contact our project management team).
Please have your API credentials ready, which you received by email after the onboarding process:
- API Login ID
- Transaction Key
- Client Key (Step: 1.3)
2.1 Open the Config tab and enter the credentials in the appropriate fields:
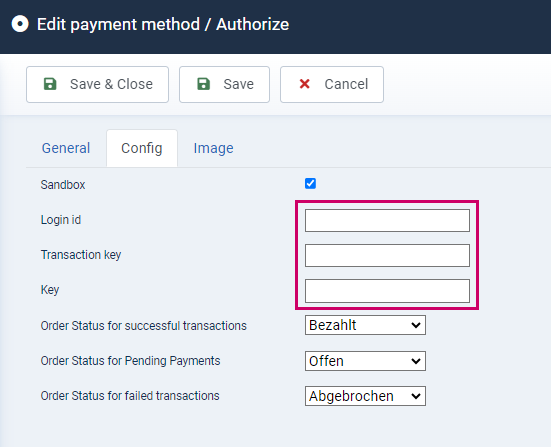
3. Save the settings
")
")