SOFTWARE
DEVELOPMENT
You can create and manage your products in this area. ATTENTION: To be able to create a product, a product category must first be created.
To create a new product, click on the +New button.
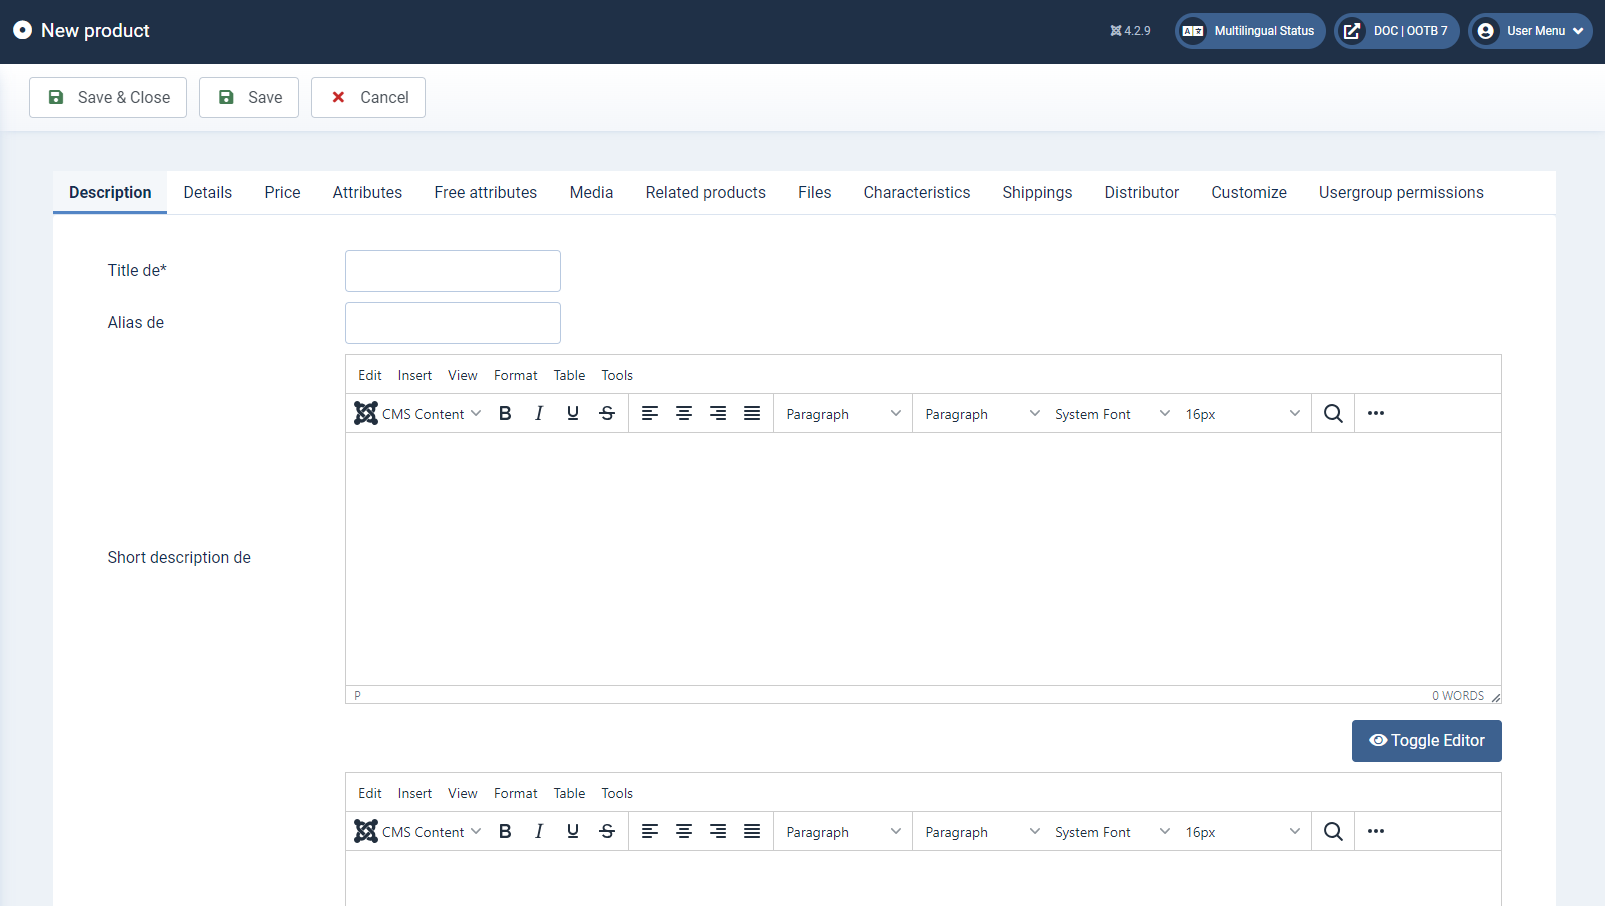
Title* (mandatory field)
The title of a product must be entered as a mandatory field in order to be able to save the product. Depending on your requirements and template, the title can be displayed in the frontend on the product overview pages.
Alias
The alias is used to create a search engine-friendly URL for the product (with the appropriate system settings) and must therefore be unique. If you leave this field blank, the system automatically generates a unique alias from the title entered.
Short description
The short description is displayed in the product overview under the title. For multilingual shops, the text in the default language is displayed. Depending on the design, the short description can also be displayed on product pages and serve as initial, brief information about the product.
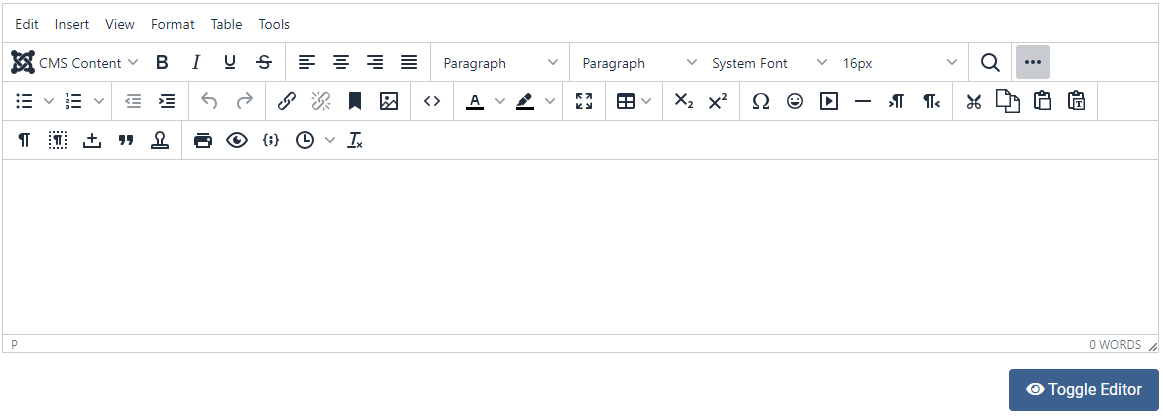
You can use the editor to format your content in a similar way to familiar text editor.
(Switch the toolbar by clicking on [---] on the right in the top bar)
Description
In contrast to the short description, more detailed information about the product should be entered here, which can then be displayed on the product pages, depending on the configuration.
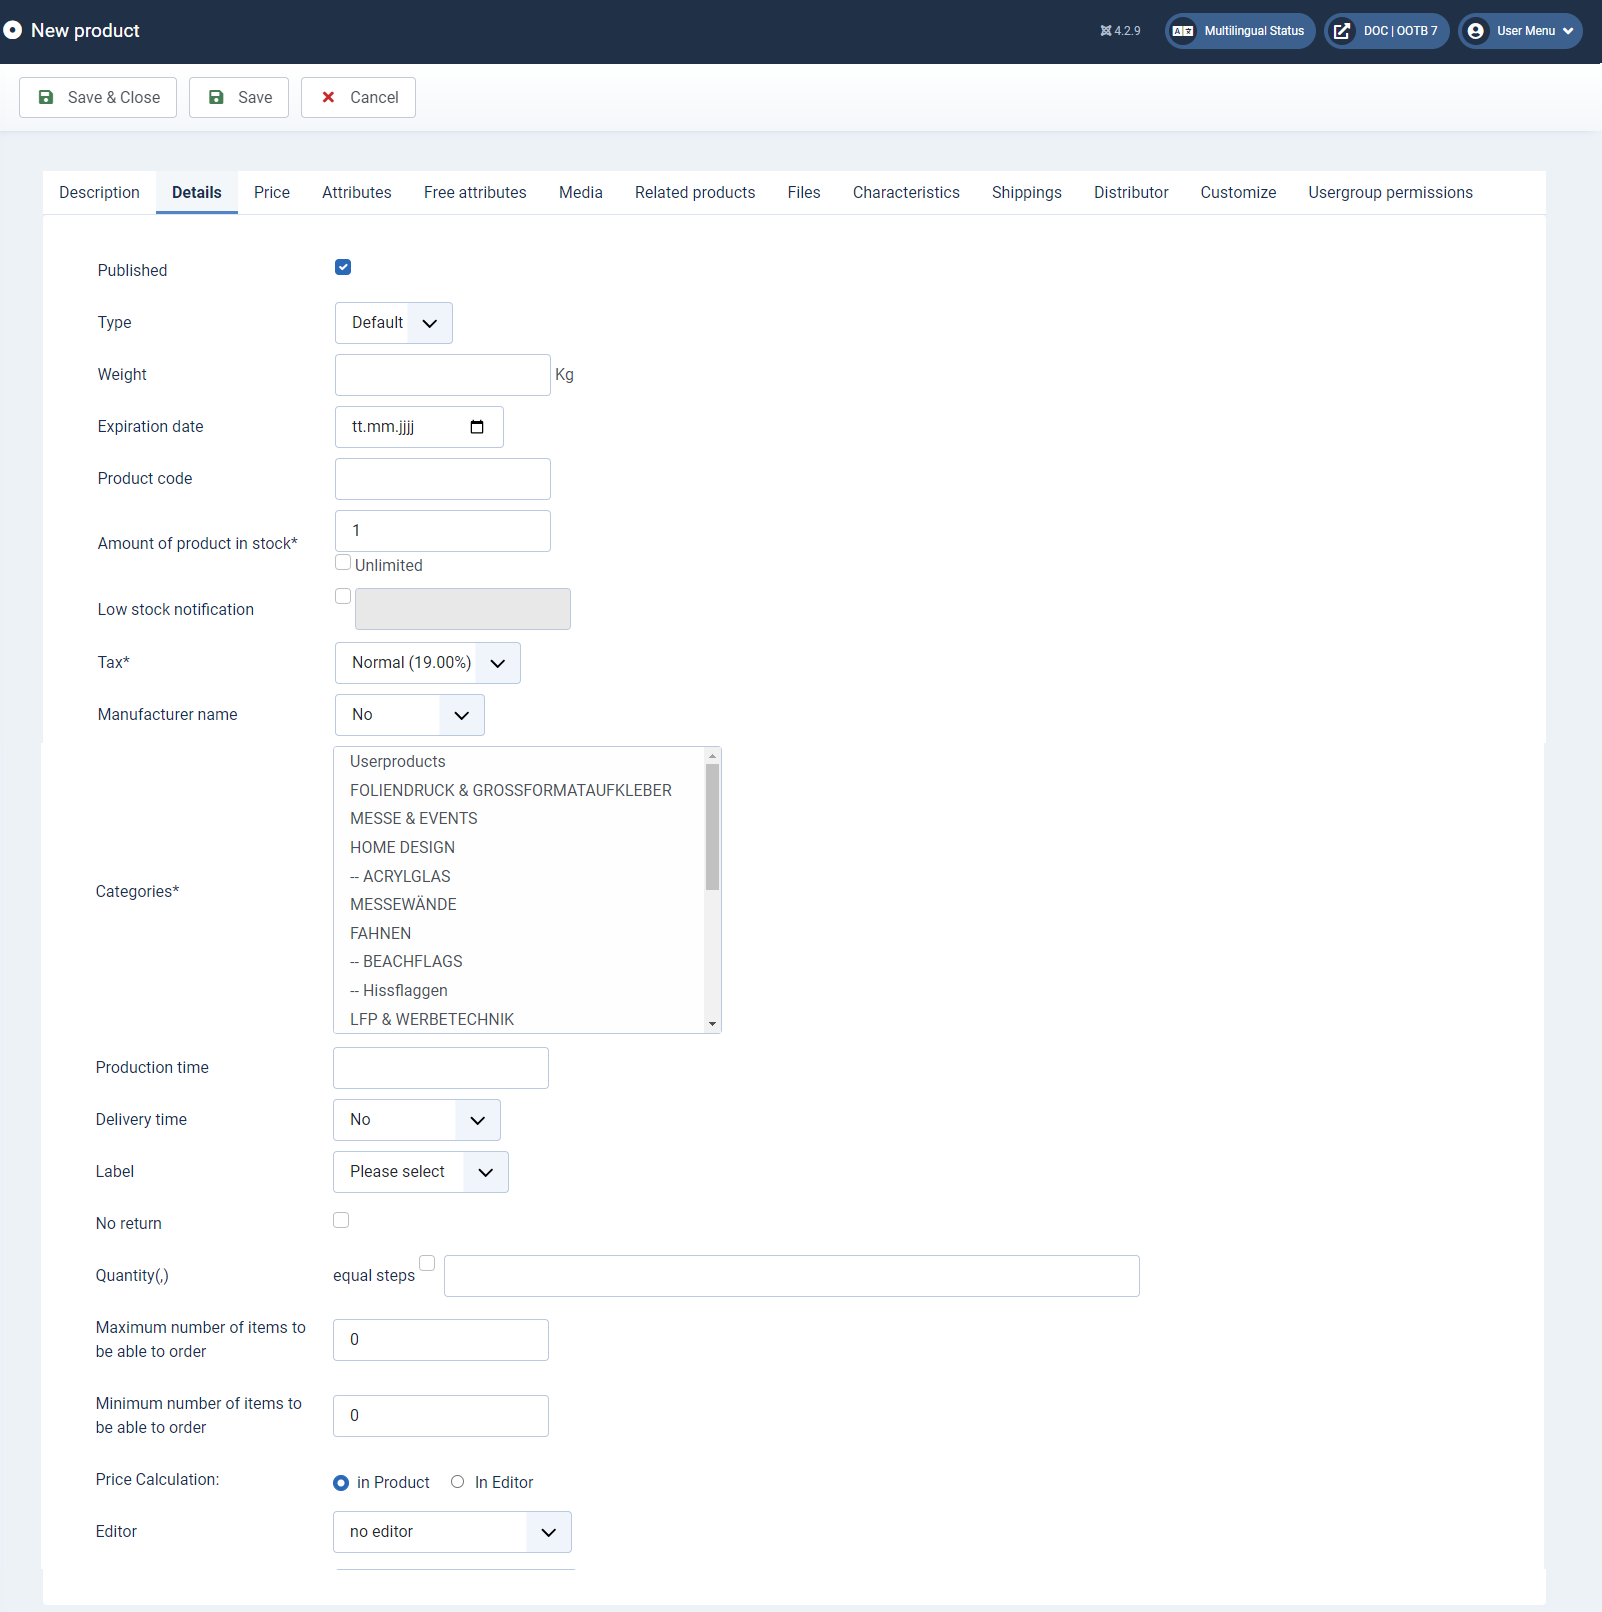
You can define various product parameters in the Details tab:
Publish
Specify whether the product should be published directly.
Weight
Enter the weight of the product in kg.
Expiration date
Enter the expiry date of the product.
Product code
Enter the article number (numbers and / or letters) of the product.
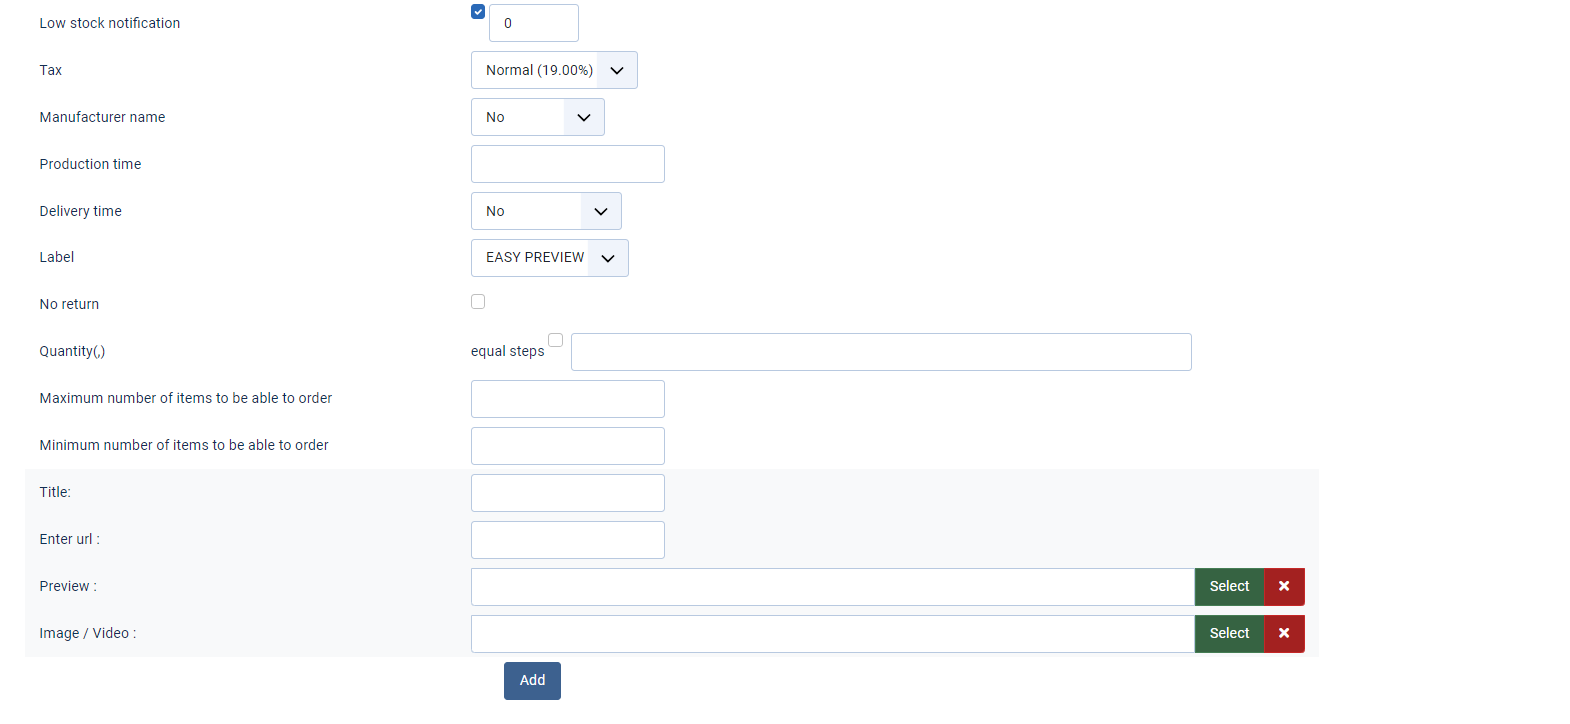
Amount of product in stock* (mandatory field) The current stock level of the product is stored in the Stock quantity field (default value 1). If you do not want to enter a specific stock quantity or the item is only produced when an order is placed, please select the Unlimited checkbox.
Low stock notification
By activating the checkbox and entering a notification quantity, the shop administrator receives an e-mail when the specified stock quantity is reached.
Tax* (mandatory field)
Here you can select the appropriate Tax rate for your product. The tax rates are managed in Options > Tax rates.
Manufacturer name
Select the manufacturer of the product here. This is managed in Options > Manufacturer.
Categories* (mandatory field)
To be able to save a product, it must be assigned to a category. These are created under Categories
Production time
You can enter a production time in Days here
Delivery time
Set the standard delivery time for the product. Delivery times are managed under Options > Delivery time.
Label
Select whether a product should be emphasised with a label (e.g. Sale, New, etc.). The labels are managed via Options > Product labels.
No return
By activating the checkbox, your customers are prompted to waive their right of cancellation during the checkout process. This allows you to start producing customised products straight away without any problems.
Quantity (,)
Here you can create the fixed quantities that the customer can select in the frontend. Separate values with ",". (Example: 1,10,10,100) Maximum order quantity If the product is limited in quantity per order, enter the maximum value here.
Maximum / Minimum order quantity
Here you can specify a minimum order quantity for the product. Price Calculation Select here whether you want to calculate in the product or in the editor.
Price Calculation:
You can select where the product price should be calculated here
Editor
Select the editor to be linked to the product here.
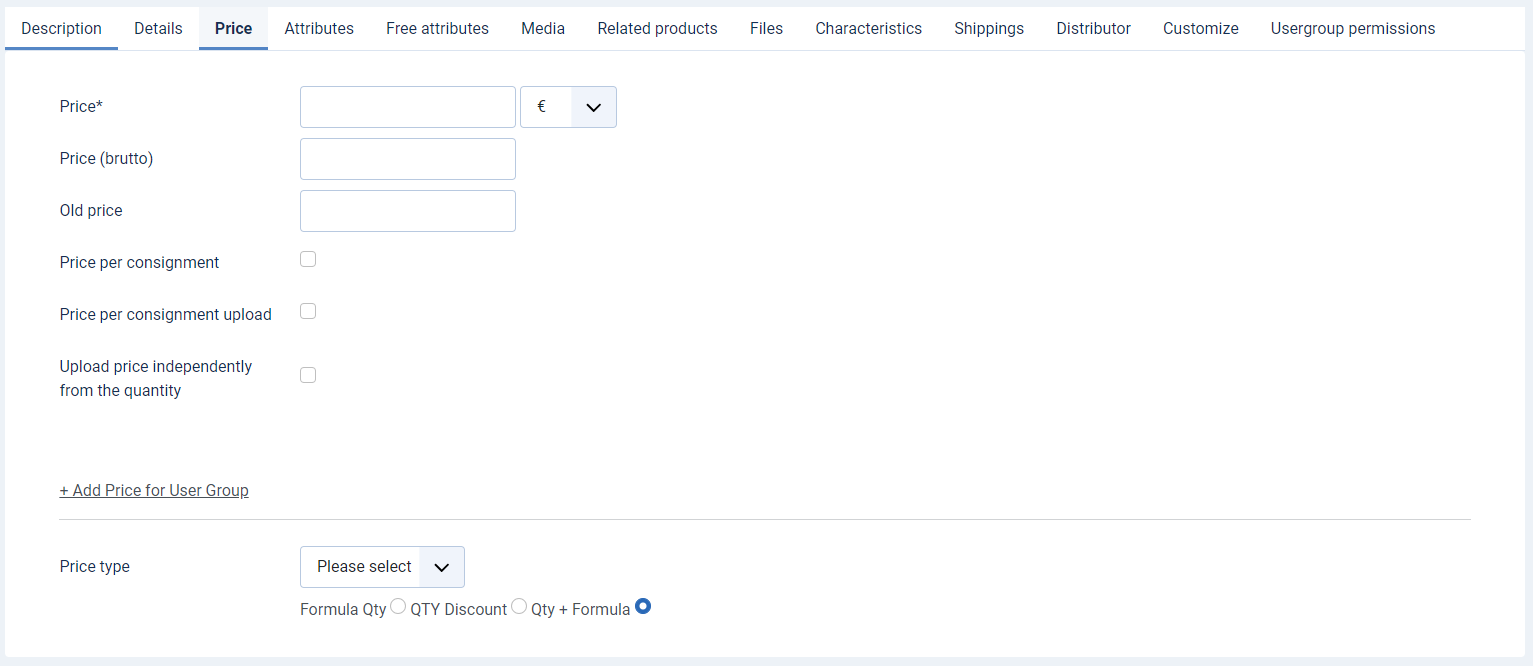
he Price tab, you define various price parameters for your product.
Price* (mandatory field)
Enter the standard gross price for your product here. You can select the appropriate currency in the corresponding drop-down field. Currencies are managed via Options > Currencies.
Price (brutto)
The net price is automatically calculated and displayed according to the VAT specification.
Old price
If required, enter a cancellation price here.
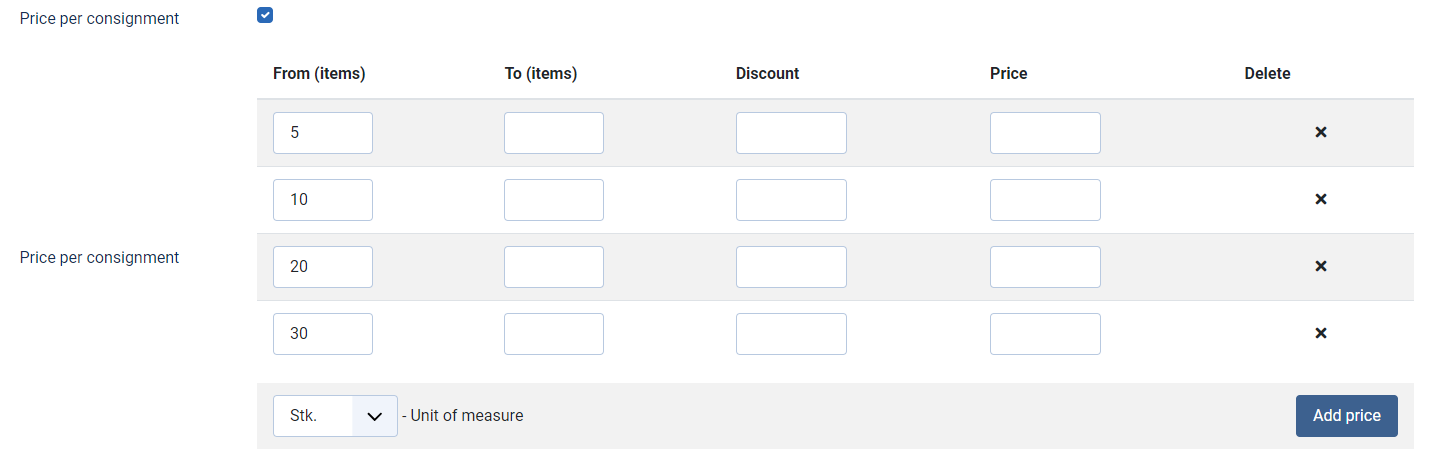
Price per consignment
After activating the Scale prices checkbox, an overview for managing the scale prices for your product opens. Here you can specify values from/to, a discount (in %) or a fixed price. You can use the Add button to create prices for additional measuring units:
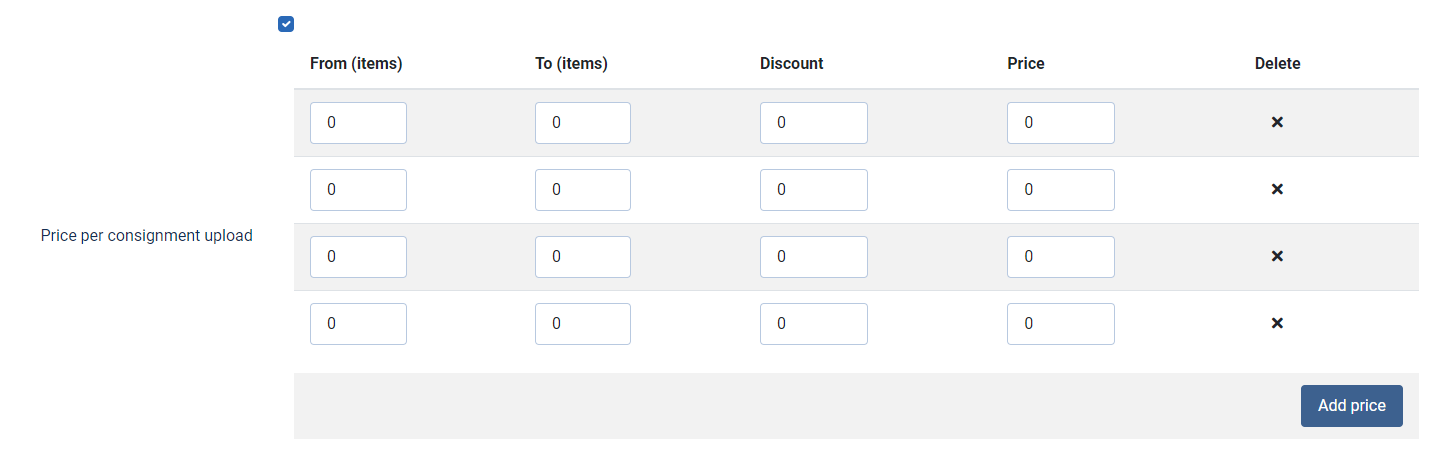
Price per consignment upload
You can use + Price per upload to price the upload and define a price scale for it.
You can define user group-specific prices via + Add Price for User Group.

To do this, select the User group (mandatory field) in the drop-down field and enter the corresponding Price (mandatory field). User groups are managed via Options > User groups. The additional fields Price (brutto), Old price and Price per consignment can be used in the same way as by the basic prices.

Use the drop-down fields to select a price type created under Options > Formula calculator. If you do not make a selection, the unit price is the default value.
Use the radio buttons to specify how the graduated prices are calculated. In many cases, the selection Quantity + Formula makes the most sense here. A detailed explanation with examples can be found under Price per consignment calculation.
The product attributes are defined in this tab. To do this, the attributes must first be created via the Attribute list link at the bottom of the page or via Options > Attributes. At the top of the page, you will see an overview of all attributes that have already been stored for this product. When you create a new product, it does not yet contain any data.
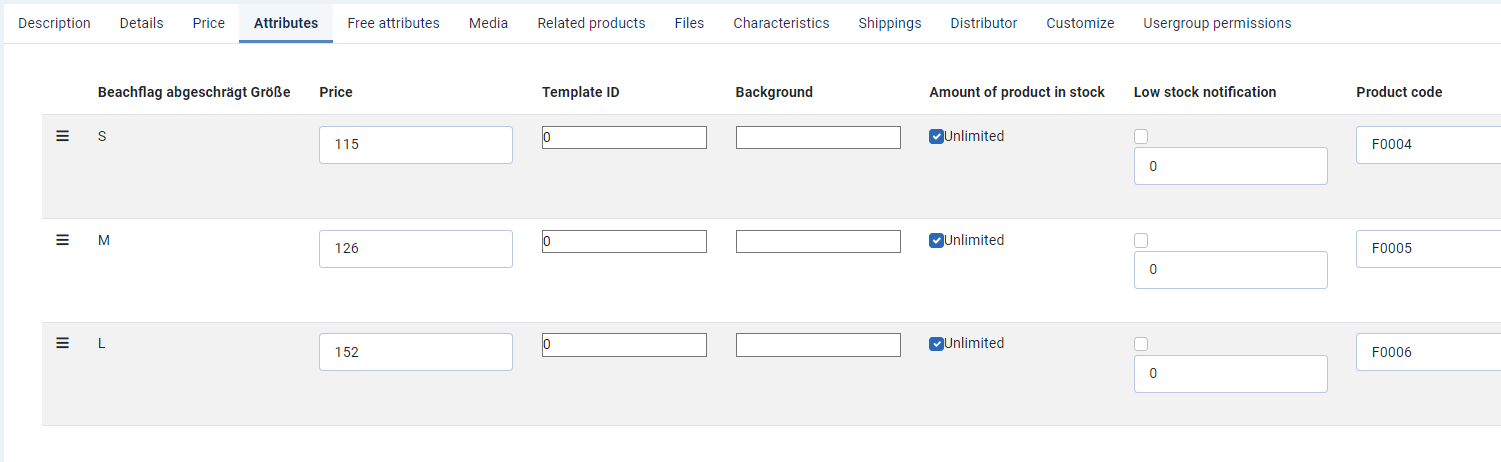
In the middle area, you can see all dependent attributes from the attribute list. Here you can define dependencies, as well as all other Fields. By clicking on the Add button, the Option appears in the list at the top of the page and can be edited there.
More details: Creating product options with dependent attributes
All non-dependent attributes from the attribute list are listed at the bottom of the page. The individual options can be selected via drop-down fields and suitable discounts or surcharges can be defined. The corresponding attribute appears in the overview area of the respective attribute via the Add attribute button.
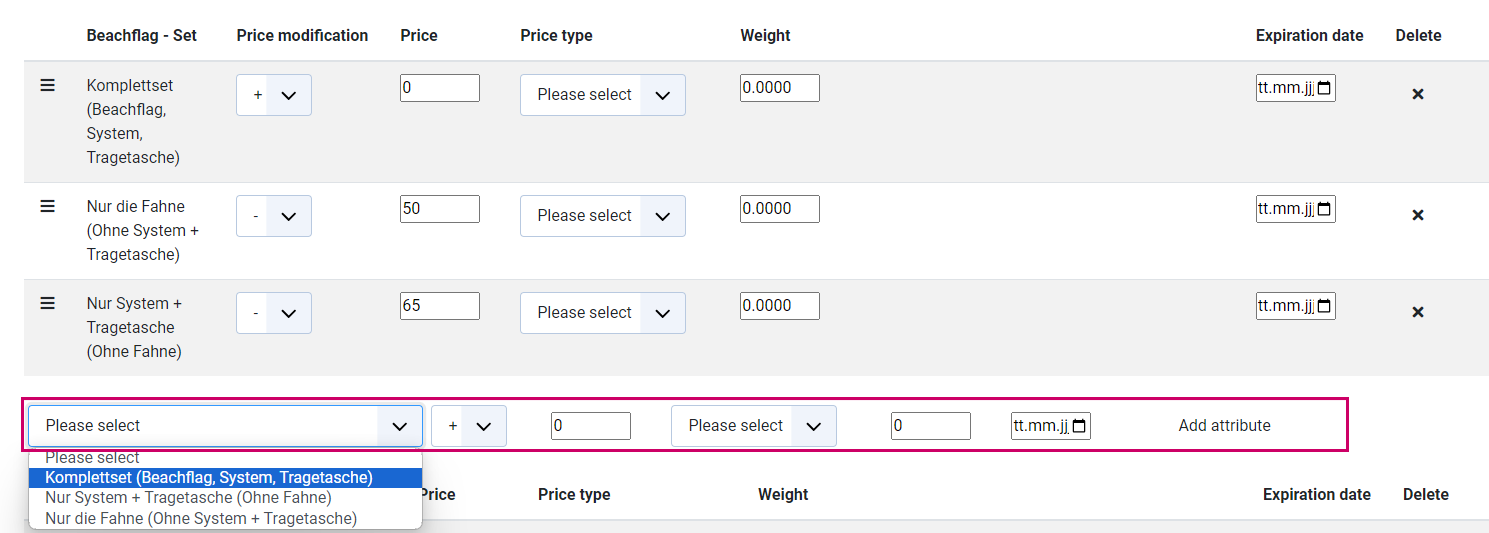
The List of attributes at the bottom of the page takes you to the Attributes area, where you can create additional attributes or edit existing ones:

This is where you define free attributes for the product. To do this, the free attributes must first be created via Options > Free attributes. All attributes created there are displayed in table form.

The individual attributes can be activated via the checkbox. Default values as well as minimum and maximum values can also be defined. By activating the Fixed value? and Show fixed free attributes? checkboxes, the attribute is displayed in the frontend with predefined, unchangeable values. Alternatively, you can define fixed values here that are not displayed.
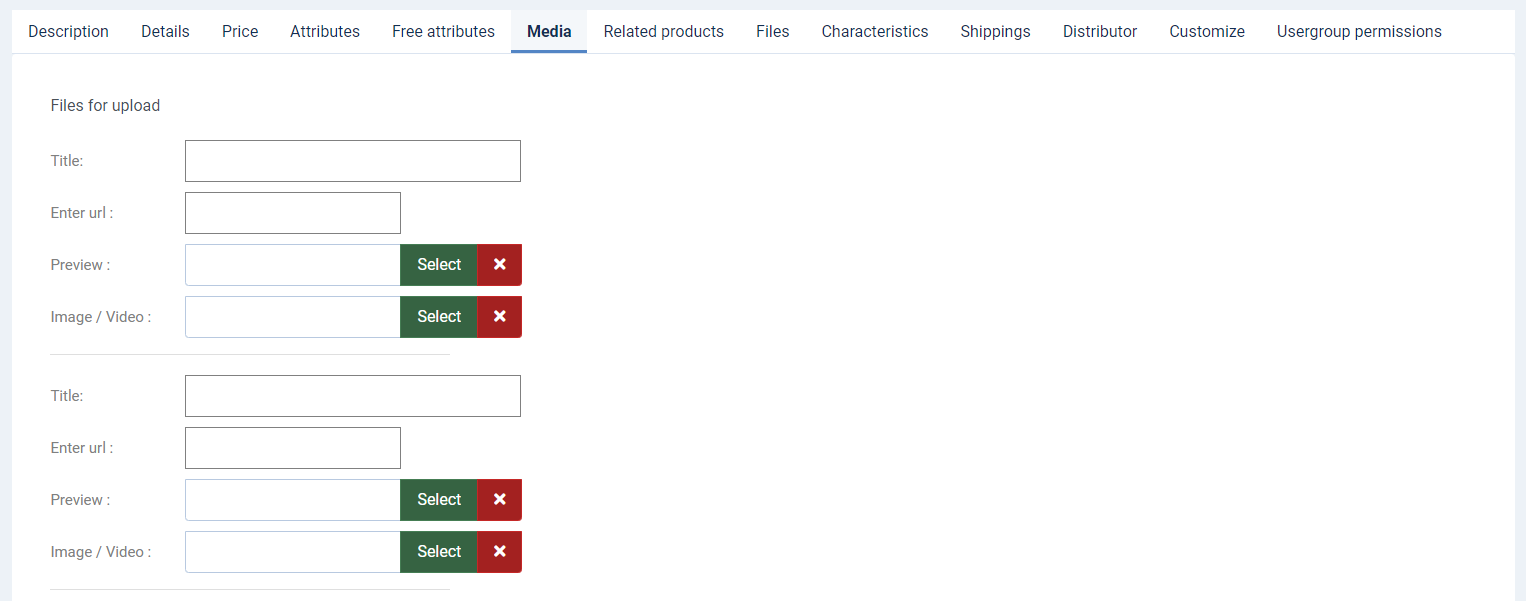
The Media tab is used to manage and upload product-specific images. You can upload one or more images for your product here and define the order in which they are displayed. You can also define the size for both preview images and full images. Supported image formats are jpeg, gif and png. You can also upload up to three different videos, including a matching preview image, for your product.
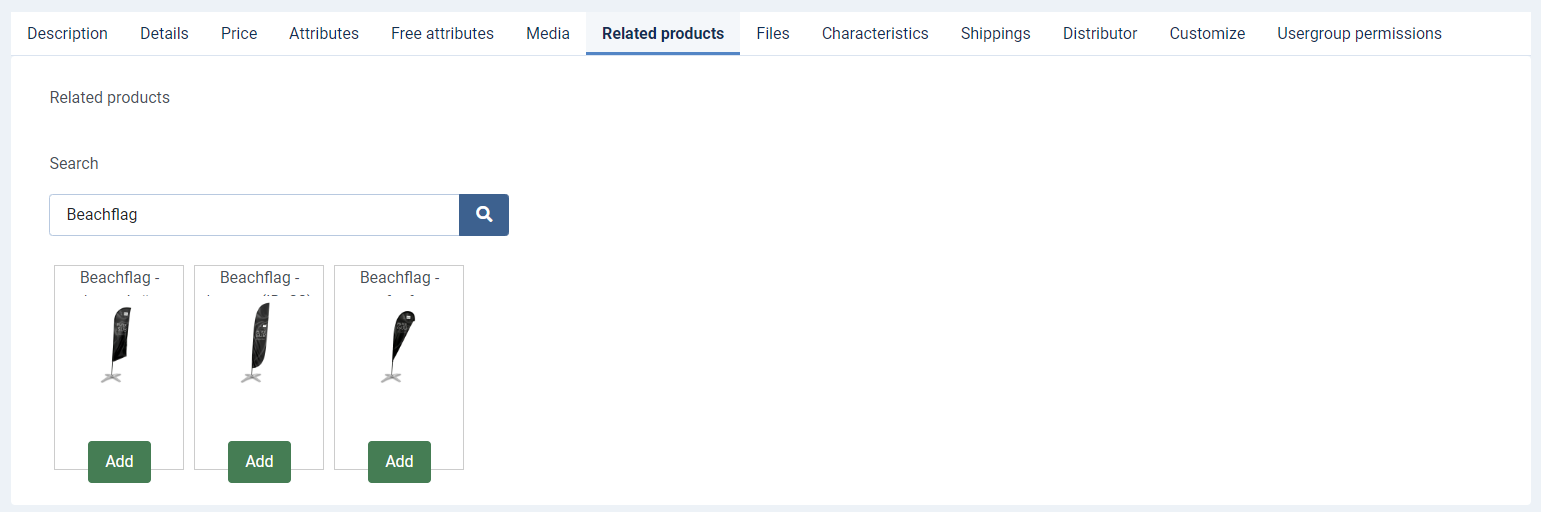
Define related products that are displayed in the frontend together with the current product. You can use the search function to search for product names, descriptions or details and then select the relevant products.
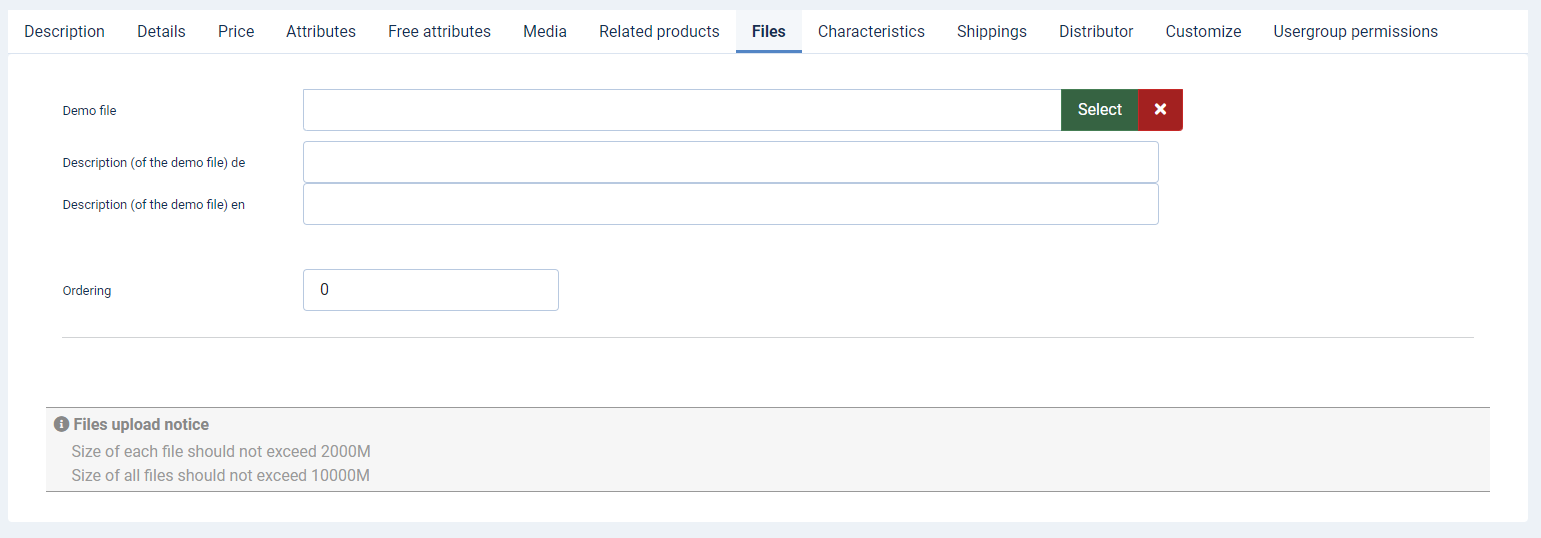
Demo and Description files (e.g. product data sheets) and files for sale can be loaded and managed in the Files tab.
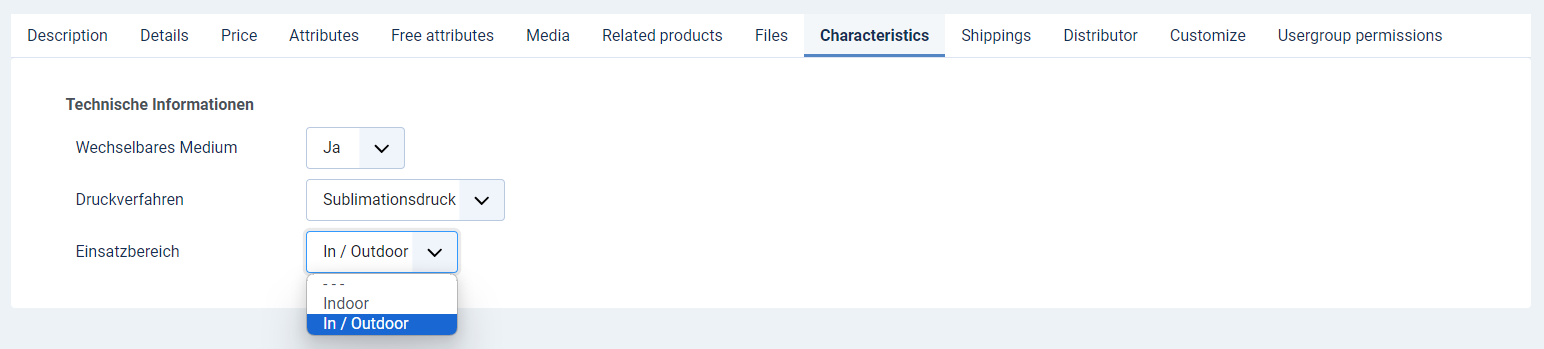
Here you select characteristics for possible search filters in the frontend (e.g. products for outdoor use, specific web widths, screens, etc.). These must be created beforehand via Options > Product Bharacteristics.
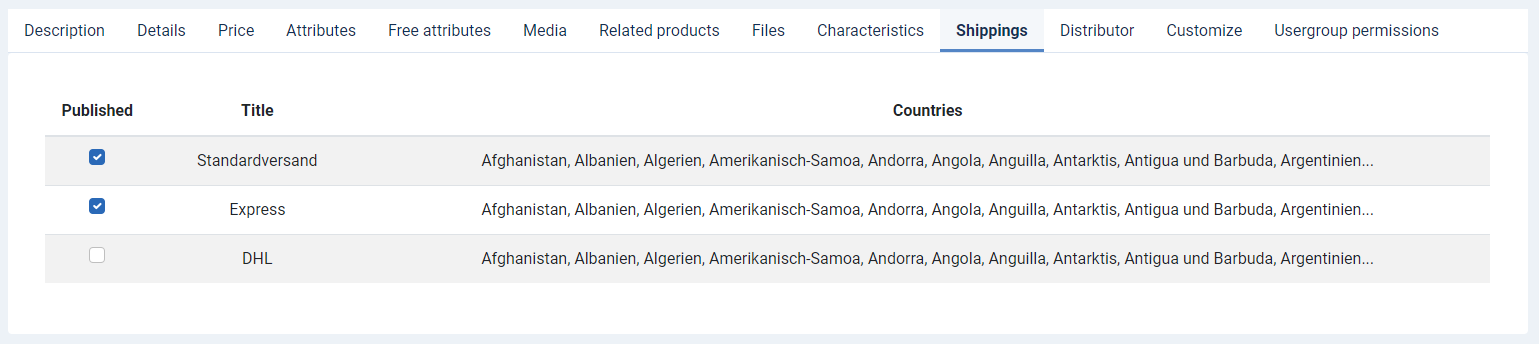
Here you can see the Shipping methods previously created under Options > Shipping methods and assign them to your product.
Here you can select the delivery types previously created under Options > Manufacturers and assign them to your product.

Specify whether and in what quantity uploads are permitted for your product and whether the product can be added directly to the shopping basket. You can also set whether, for example, the shopping basket should be displayed and whether you want to display bulk prices.

You can assign different rights to users here. Specify which of your user groups can see the products, which of them can see the prices and which user groups are authorised for actions (e.g. design in the editor).

Once you have entered all the relevant data, click on Save & Close to return to the product overview.
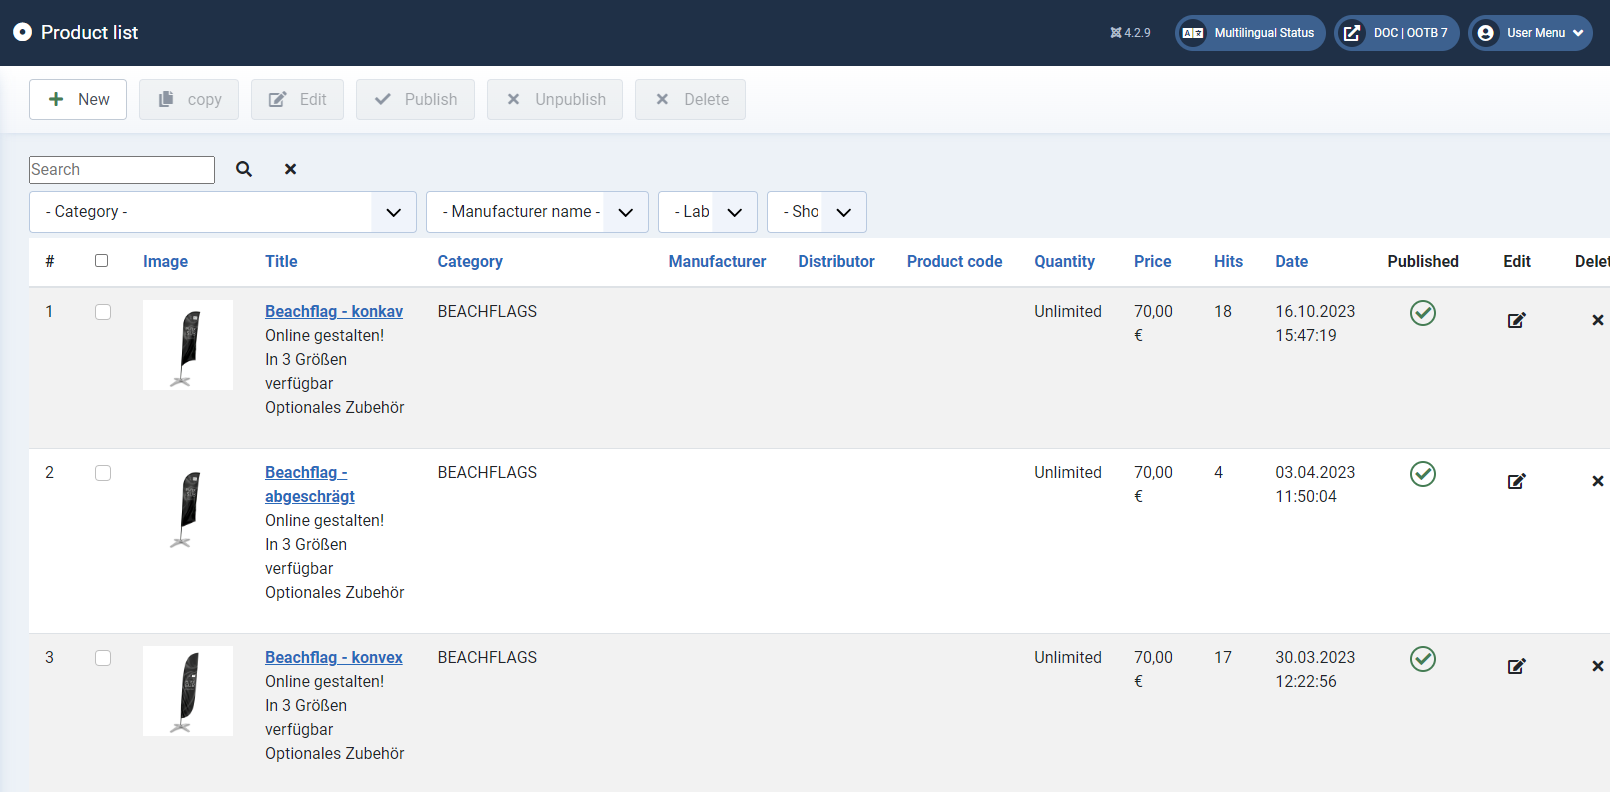
You can manage all existing products using the buttons displayed there. To do this, the respective products must be selected using the checkbox.
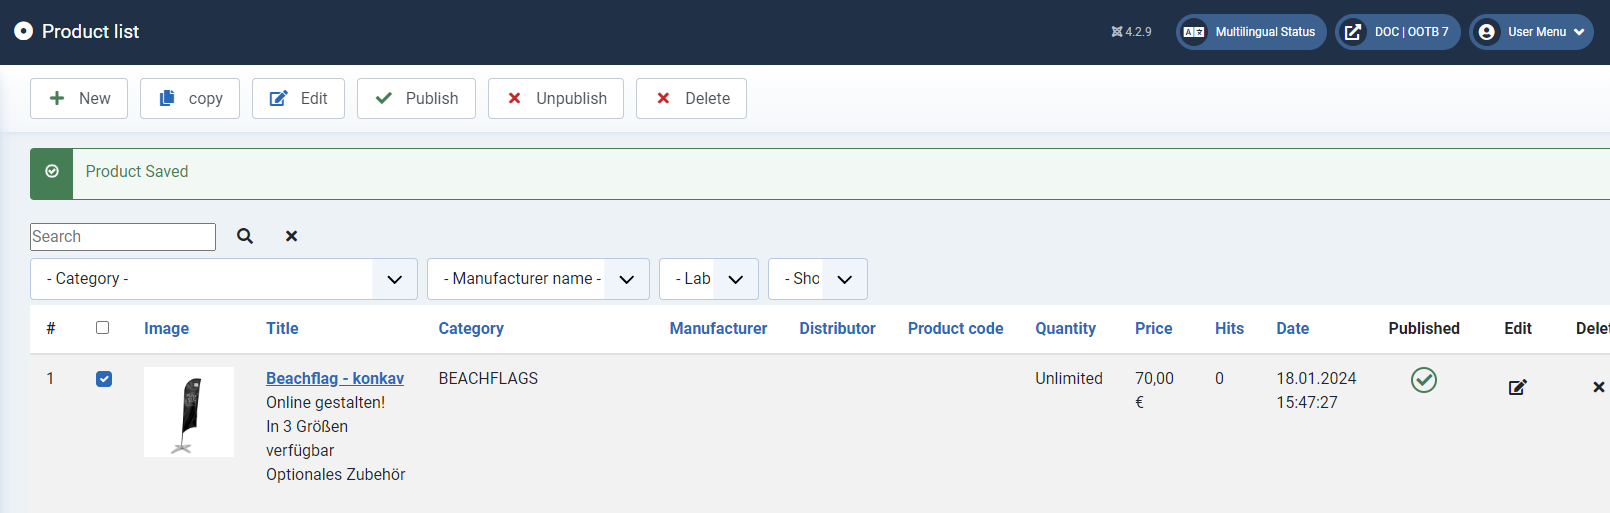
By clicking on a column title, you can sort the products according to this column. You can also filter or search for products using the dropdown fields.

")
")