SOFTWARE
DEVELOPMENT
To be able to create editor templates, a category must first be created.
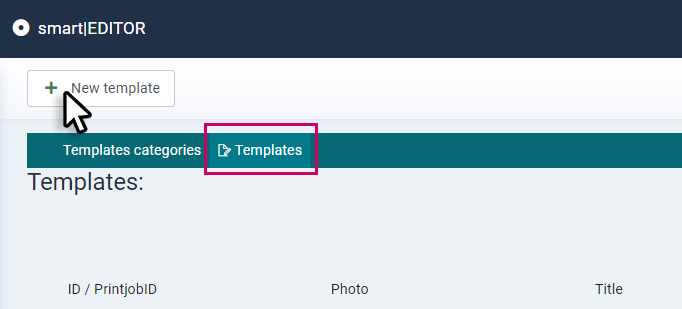
1. to create a template, first go to: smart|EDITOR > Templates and click Templates:
In the following window, first click on:
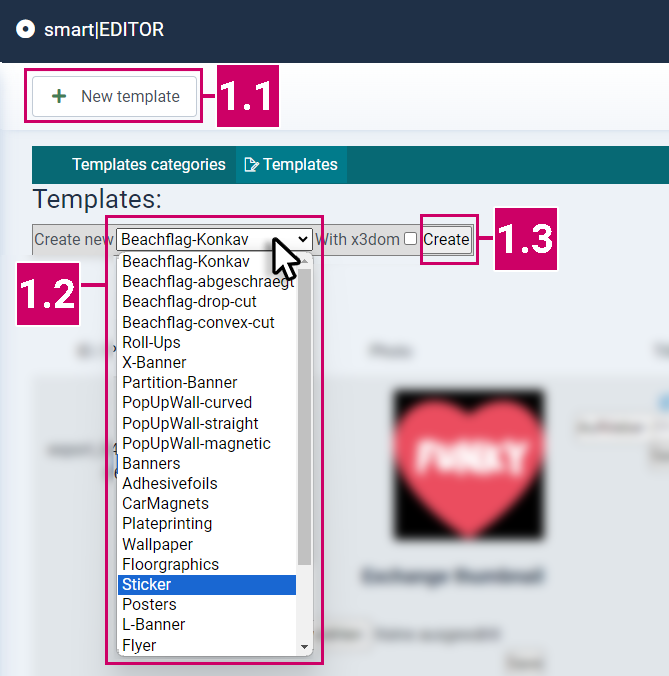
1.1 +New template, whereupon a selection field appears under "Templates:".
1.2 Select the editor on whose basis the template should be.
Make sure that you have previously created a template category that corresponds to the ID of the editor to be selected, so that the template can be saved and accessed correctly. (In this example, our editor is: Sticker ID:36)
1.3 Confirm your selection by clicking on "Create".
The editor starts and you can begin creating your design template.
When creating templates, you also have the template tools in the toolbar at the bottom left, which offer you the following options:
2. When using text elemets
(The text element must be selected / clicked beforehand):
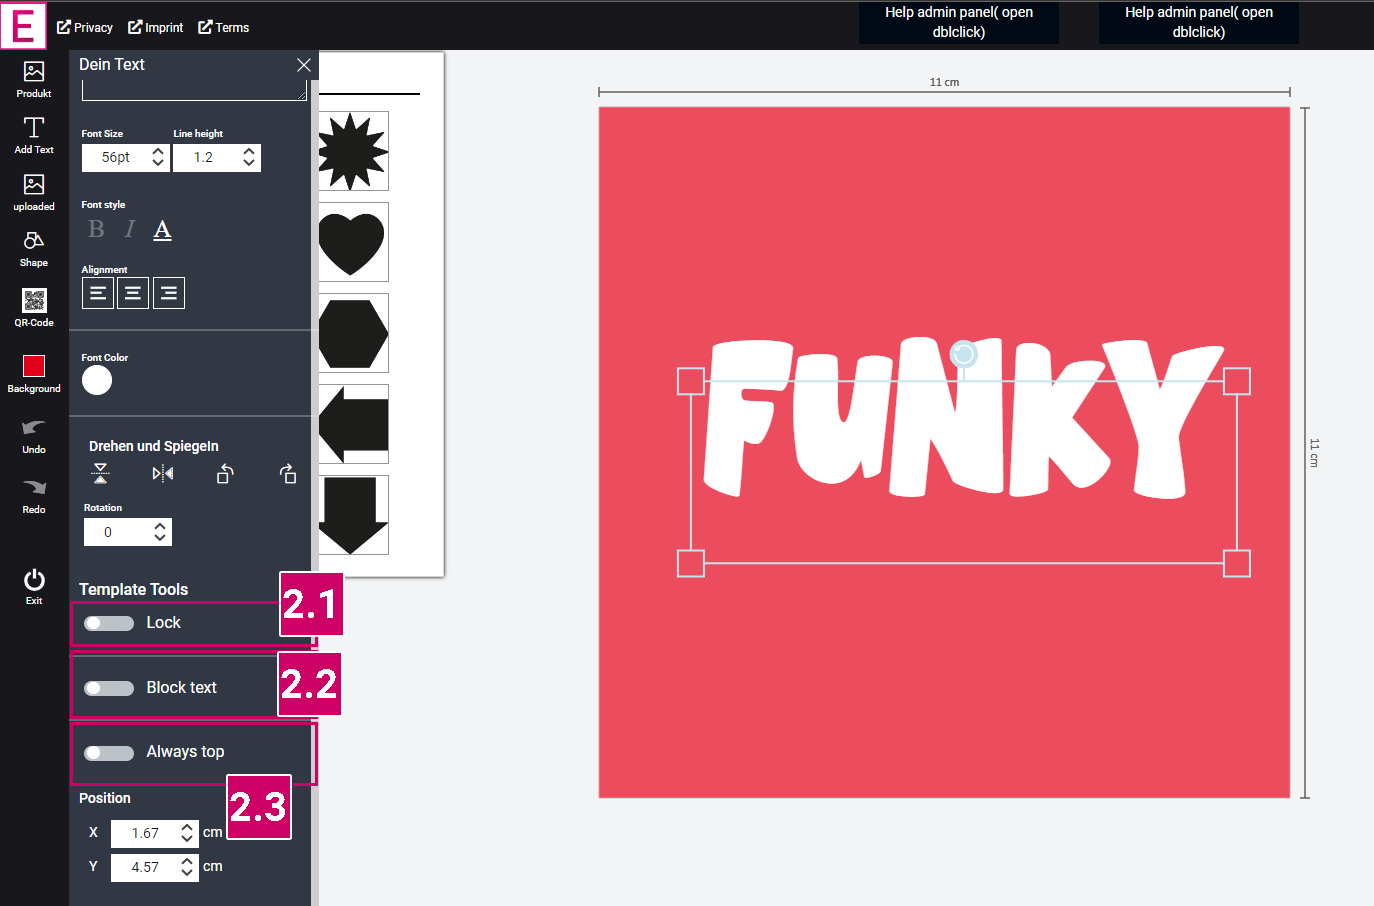
2.1 Lock
When this option is activated, the text field can no longer be moved, scaled or deleted by the user. Only the content of the text field can be changed.
2.2 Block text
When this option is activated, the text and font of the text element can be locked. The content of the text field can therefore no longer be changed when this option is activated.
2.3 Always top
If this option is activated, the text element will always be on the top level when the user is designing later. The size, content and position can be changed.
3. When using images
(The image element must be selected / clicked beforehand):
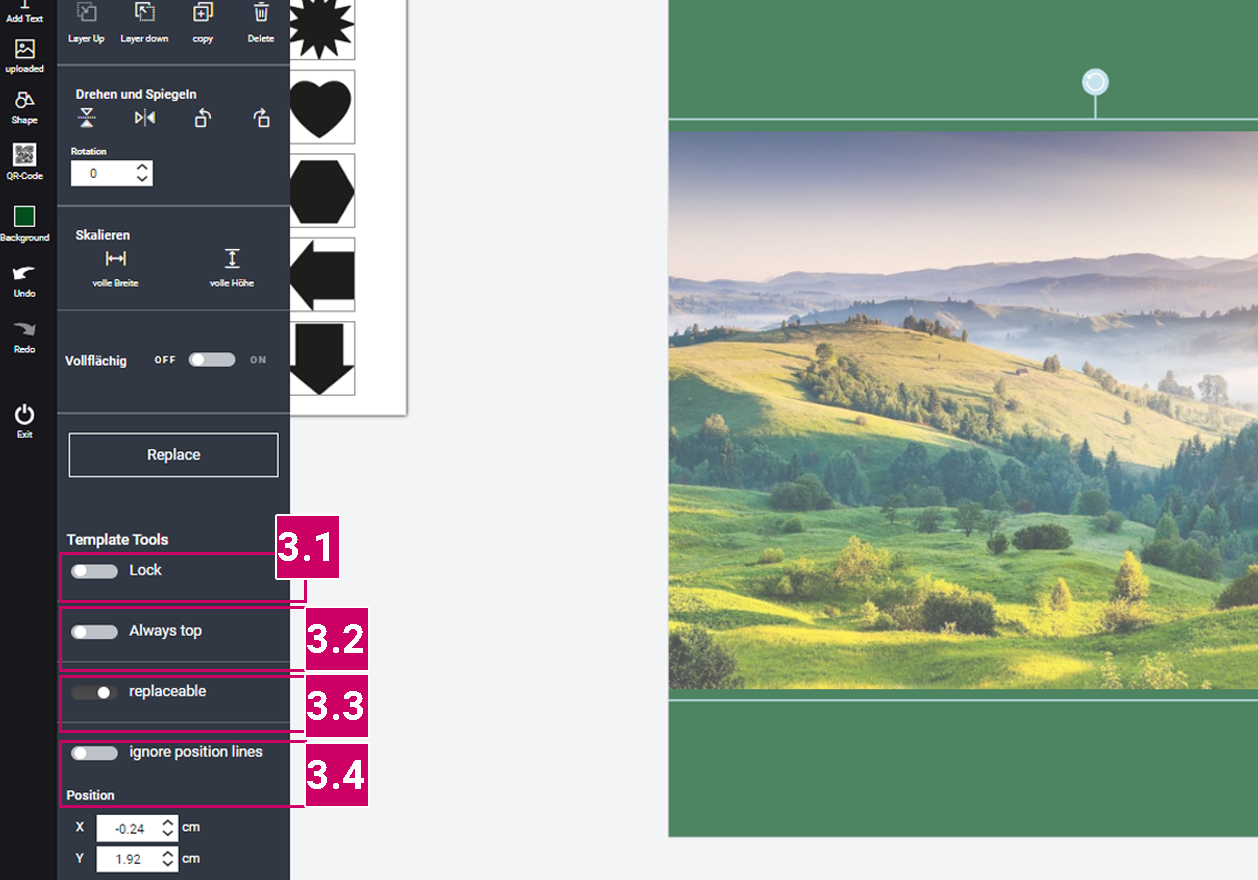
2.1 Lock
When this option is activated, the Picture can no longer be moved, scaled or deleted by the user. Only the content of the text field can be changed.
2.3 Always top
If this option is activated, the Picture will always be on the top level when the user is designing later. The size, content and position can be changed.
3.3 Replaceable
When this option is activated, the image can be exchanged by the user.
Tip: This option can be used together with the Lock option to offer the user the option of exchanging images / photos in a template without moving them within the layout. When uploading, an image cropping function is also offered if the image to be exchanged has a different aspect ratio.
3.4 Ignore position lines
This option switches off the alignment lines for the image object.
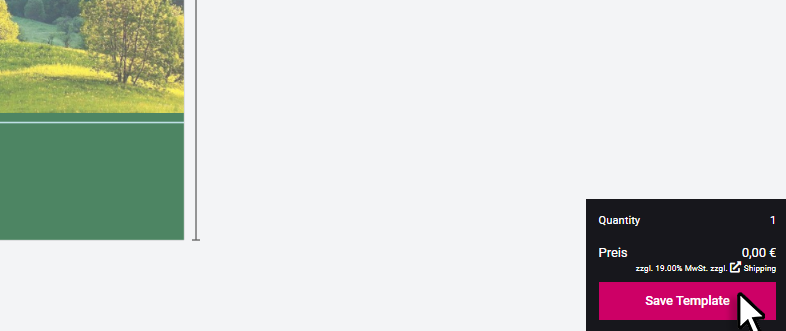
4. Save Template
When you are finished with your template, first click on "Save template":
4.1 In the following window, click on the template category from which the template is to be assigned.
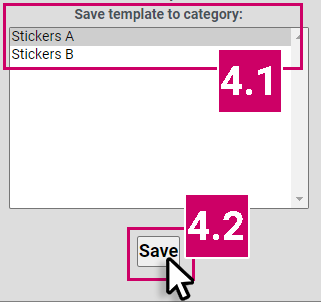
.
4.2 Click on "Save" to save the tamplate, which then appears in the overview.
5 The template overview contains relevant information and functions for the administration of the templates.
This can be opened in the backend under: smart|EDITOR > Templates > Templates:
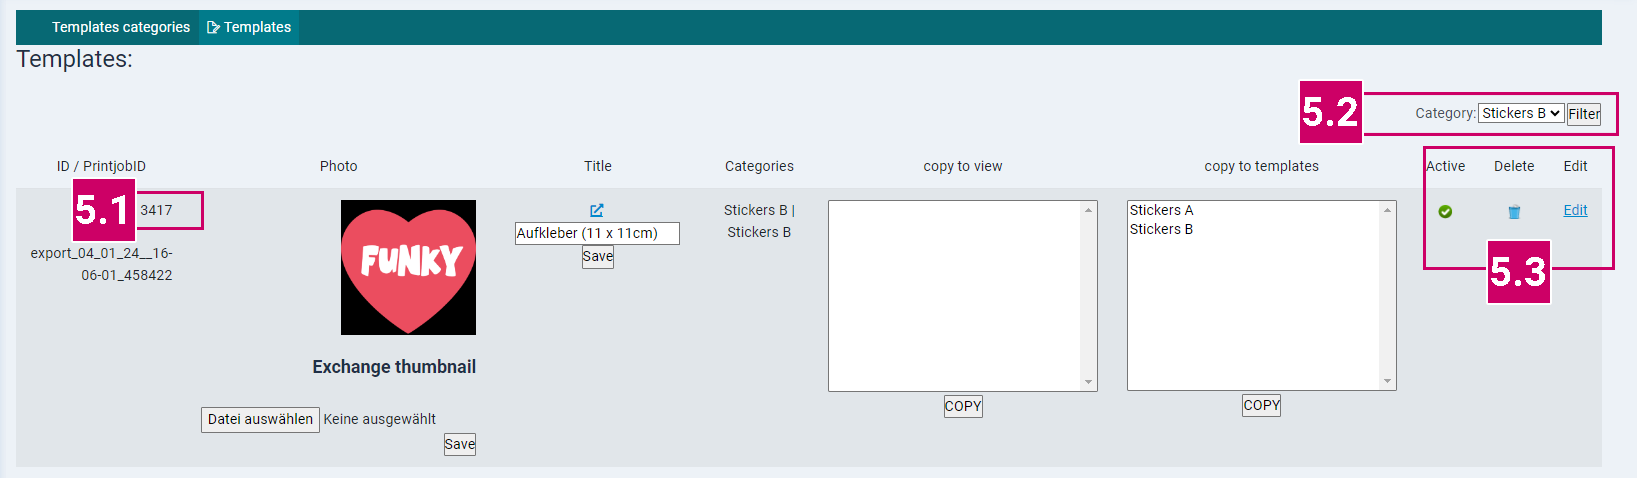
5.1 Template ID
The template ID is a four-digit number that is generated automatically and is required if you want to connect an editor template to a shop product.
Information on this can be found here: Linking an editor template to a shop product
5.2 Category filter
You can use this selection box to list the templates by category if required. To do this, click in the selection box, select the category and then click Filter.
5.3 Active / Delete / Edit
Active - Activates / deactivates the template
Delete - Deletes a template
Edit - Activates the editor and you can edit, save or re-save the template.
")
")